How to complete the Knightfall mission in Webb Industries.

Mission 7 — Knightfall in 007 First Light continues directly on from your last assignment, as you and Greenway try to figure out exactly what Sir Nicholas Webb and son, Damien Webb, are up to. This mission has you stealthing around the heavily-guarded Webb Industries as you do that.
To help keep you on track and ensure your mission isn’t failed, here’s my 007 First Light Mission 7 walkthrough.
To see this content please enable targeting cookies.
007 First Light Mission 7 walkthrough
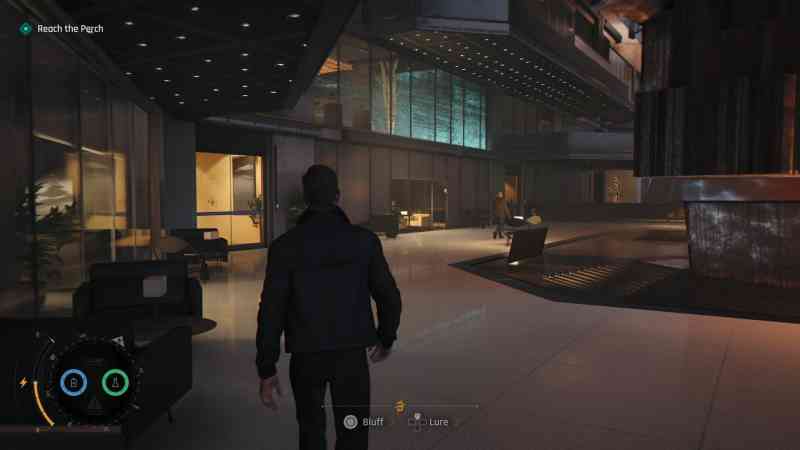
Mission 7 starts with you and Greenway infiltrating Webb Industries. As you go up the elevator, you’ll need to tell the member of staff here that you’re either from a tech or security company and then you’ll soon find yourself inside.
1. Get to the stairs
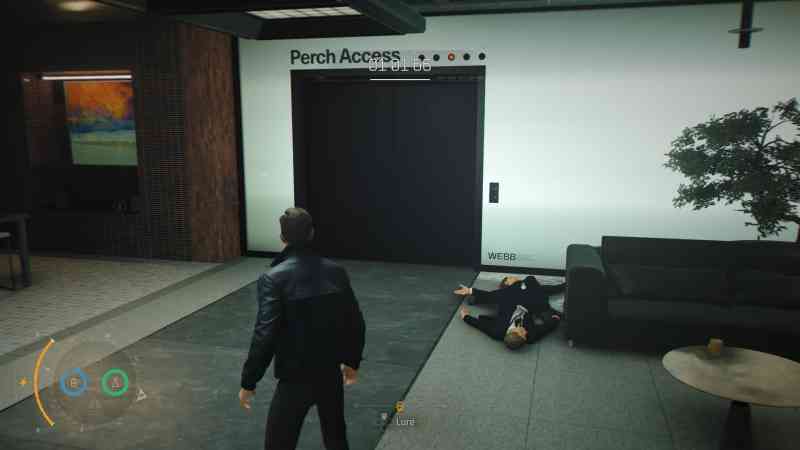
Once inside the building, approach Greenway for your first overarching objective: reach the Perch. The Perch is three floors up from where you currently are, so follow Greenway over to the stairs.

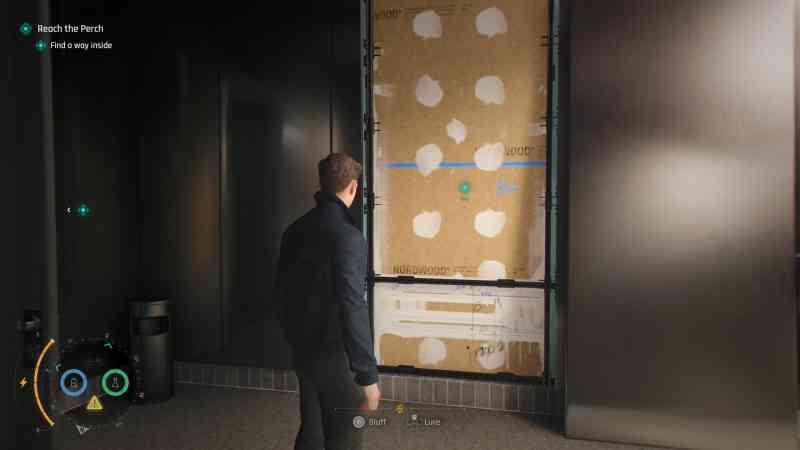
You’ll soon need to find a way to the stairs. Follow Greenway into the next corridor, where the door to the stairs is locked.
Go further along the hall and on the wall to the right is a note detailing Cleaning Robot Info. Turns out that these guys have full clearance and can enter every room. This is our first hint.


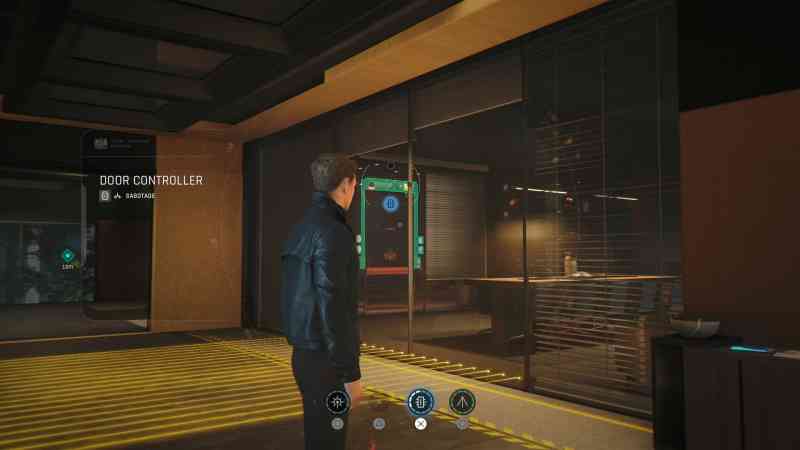
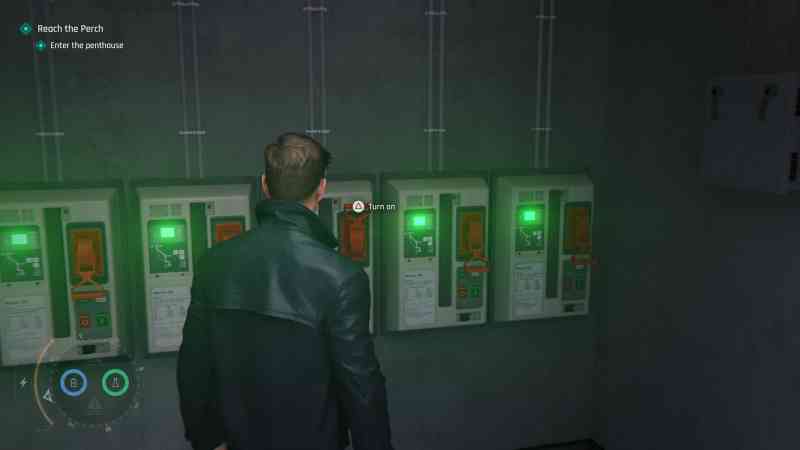
Go to the end of the hall and Bond will point out that the security sensors can be hacked using the Q-Watch, but you need to have line of sight with them in order to do so.
Hack this security sensor (pictured below) and return to the lobby.


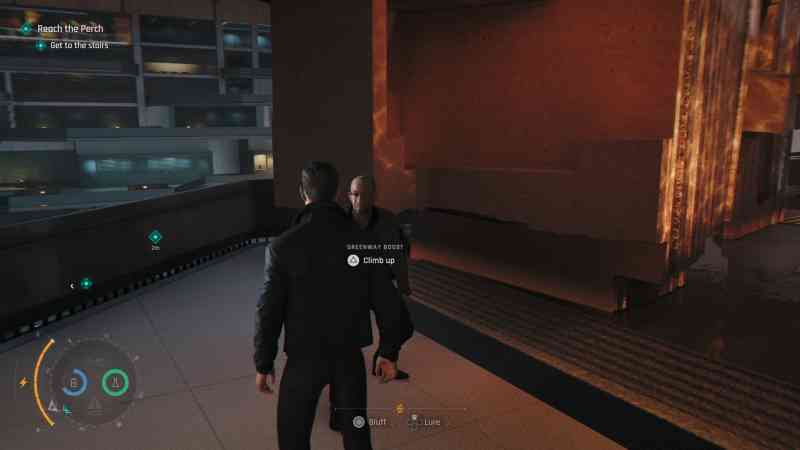
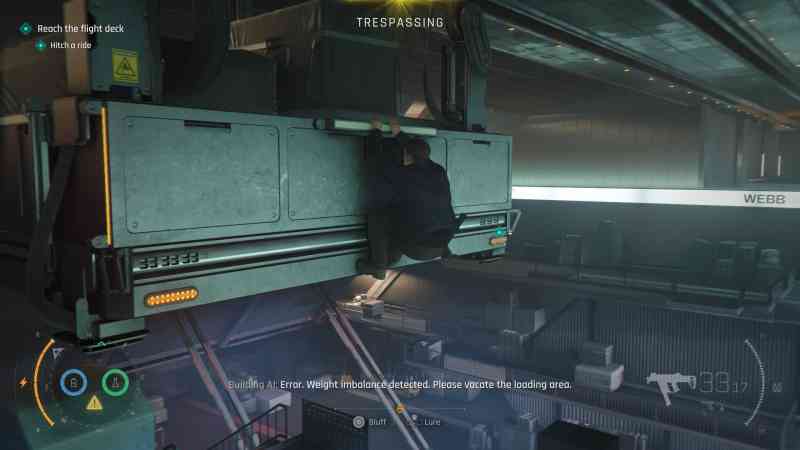
Back in the lobby, Greenway will beckon you over claiming to have found a way up. Go over to him and use his help to climb the statue.

Go forward onto the balcony then head right towards the yellow and white cloth. Here, you can climb over the balcony and onto the ledge to reach the balcony on the opposite side of the area.


Follow the yellow cloth ahead and you’ll have finally reached the stairs. Now, you need to clear a path for Greenway to reach them too.
2. Open a path for Greenway
Before going anywhere, look through the window directly to your left at the bottom of the stairs (assuming you’re facing the stairs). From here, you can use the Q-Watch to hack the security sensors of that room and unlock the door.


With that done, go along the hallway on your left and enter the room you just unlocked. Use the screen in this room to call for a cleaning robot.


This helpful robot will open the door for Greenway, allowing him to reach the staircase alongside you.
3. Reach the East Wing
Go upstairs and through the door ahead, then follow Greenway to yet another locked door. Time to do some sleuthing and figure out how to unlock it, but beware of the sleeping guard on this floor.
If you keep poking around and exploring the area, Greenway will eventually tell you he thinks he saw a missing panel in the restroom.
Enter the restroom and destroy the panel, which catches the attention of the nearby guard. Quickly hide in one of the bathroom stalls.


Now, it’s likely he’ll open the stall you’re in but this gives you ample opportunity to prepare a Gadget to hit him with, allowing you to quickly perform a takedown.
Hack the security sensor just up ahead so that Greenway can also enter the room.


Follow Greenway and lean on the railing with him when prompted. Soon, you’ll be prompted to find a way to reach the East Wing.
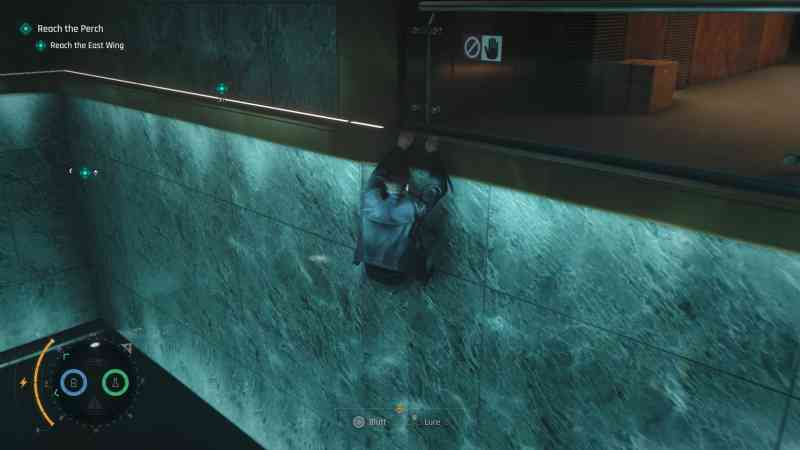
Go behind the bar in this area and vault over the balcony. You’ll be able to climb along the ledges here to reach the room beside the East Wing door.

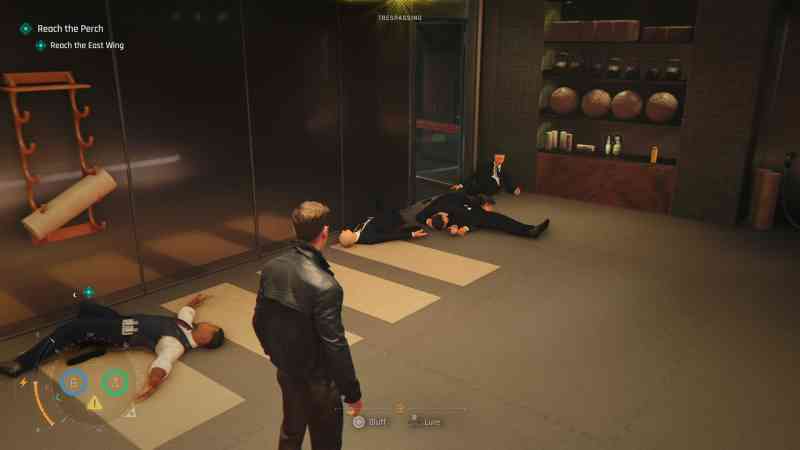
Once across the ledges, climb up into the next room and prepare for trouble. You’ll likely land on one guard who you can takedown without being seen, but if you perform a quick scan with the Q-Lens, you’ll see that there are lots of other people in this area to avoid too.


In my experience, it didn’t take long for someone else to come and investigate the guard I’d just taken down as he was right beside the door. As the brave soul approached, I performed a takedown on them too.


This process actually kept repeating itself and I wound up with a pile or corpses in the doorway eventually (see below). For every guard I took down, another would approach and I could take them down too. I had a little too much fun doing this.

If this doesn’t go quite the same way for you, don’t forget you can use Lure and your Gadgets to distract the guards here and then clear them out.
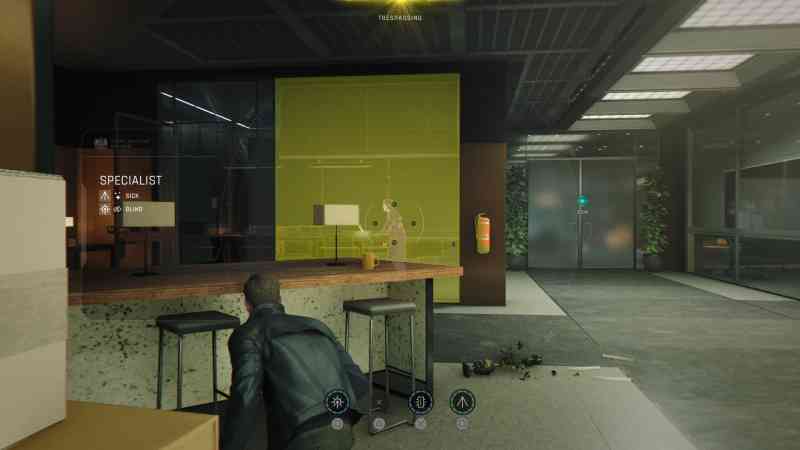
When I was done, only one other person was left in the area: a specialist in a room down the hall. I ignored them, going through the double doors that they had their back to.


Hack the security sensors above the door on your left to allow Greenway into the East Wing. Wait for Greenway to finish talking and eventually the door ahead will be opened by a cleaning robot.
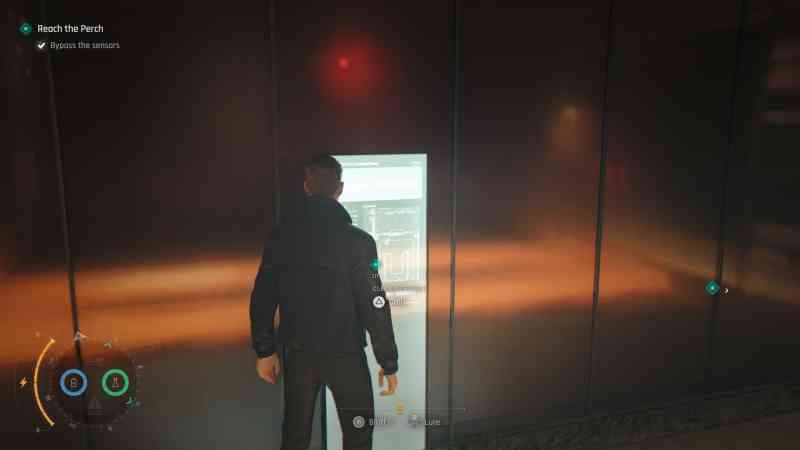
4. Bypass the sensors
Upon running along the next corridor, sensors are triggered. Don’t worry, you can run through them again to turn them back to their default state. You are, however, going to have to find a way to bypass them via the nearby offices.
At the start of the corridor, there’s some furniture on your right that can be moved with Greenway’s help. Go ahead and do that.


Enter the vent up ahead and keep left to enter Isola Vale’s office. Enter the corridor again and then look inside the office to the left of Isola’s. There’s a security sensor here to hack, opening another office.

Go back into Isola’s office and into the vents, going left into Damien’s office next. Exit Damien’s office and go into the room beside it that’s named ‘de Broglie’. This is the room you just unlocked.
Inside, call for the cleaning robot who will conveniently open the door leading to the sensor control panel. Interact with this to turn the sensors off, granting Greenway safe passage.


Go upstairs and open the door leading to the Perch. Plans will change now, and your goal will be reaching Webb’s Penthouse but all the doors in this area are locked.
5. Get to the Penthouse
At the end of the next hall, you’ll spot a Keycard on the floor through the locked door. To reach it, you’ll need to find a way around.
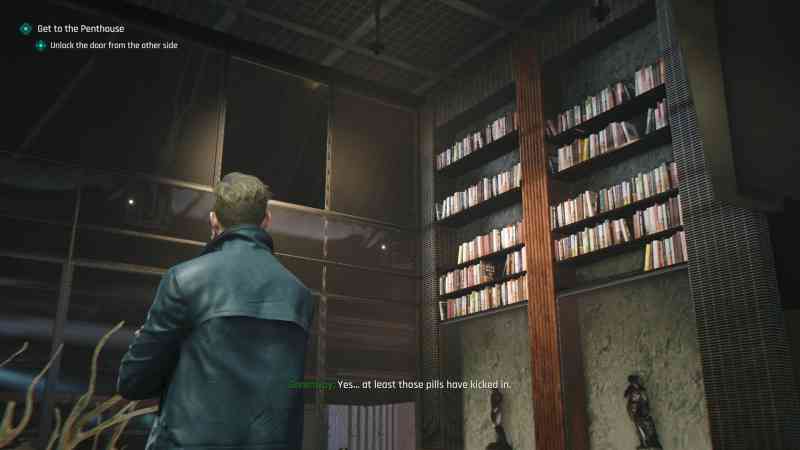
Explore until Greenway prompts you to come over to him again; he’ll point out a broken window you could do through using the nearby bookshelves as ledges. Go and do that.

Outside, go left and over the balcony with the yellow cloth on it. Use the ledges here to reach the other side.


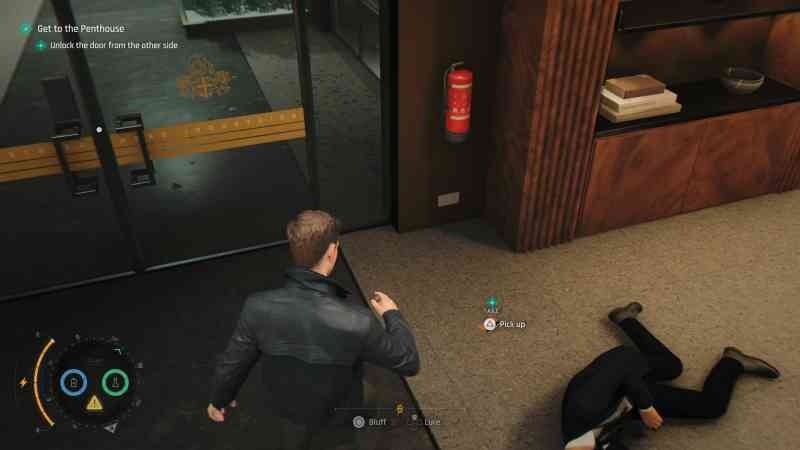
In the next room, collect the Keycard and open the door leading back to Greenway.

Follow Greenway down the corridor and enter the room that the trail of bodies leads to. The mystery woman – also known as Isola – is here, and she’s willing to help you access the Perch.
Kick the door open to the room on your left and inside, switch the power back on. Then, go and activate the staircase and make your way into the Penthouse.


As you enter the Penthouse, your Q-Tech will be disabled. This means no hacking, Laser Straps, or Dart Phones going forward…
In Webb’s Penthouse, interact with the desk drawers and press the secret button here to reveal the safe location.


A key for cracking the safe’s numpad code is in Isola’s Note in your inventory: Diploma, Painting, Game, and Model.


To solve this, you need to interact with all four of the named items in the Penthouse; each of them will possess a number that reveals our safe code.
Here’s what each item on the note refers to and what number it reveals:
- Webb’s Diploma reveals that he was number one in his class, meaning Diploma must be 1.
- Webb’s Basilisk Painting is ‘rendition four’, meaning Painting must be 4.
- Webb’s Game is a copy of Hyperion 9, meaning Game must be 9.
- Webb’s Model features Webb Industries third site in Hong Kong, meaning Model must be 3.


1 of 4 Caption Attribution
This reveals that the Penthouse safe code is 1493.
After opening the safe, it’s time to cover your tracks. Return to and press the button in the desk drawer. As you do, both Sir Nicholas Webb and Damien Webb will enter the penthouse.
As the men approach the desk, quickly seek cover behind the statue on your left without them seeing you.


You now need to remain hidden from the two men while they do what they need to do in the penthouse, but you also need to stay close enough to them for MI6 to be able to record their conversation.
If either man sees you, they will shoot you on sight and kill you, so there’s no defusing the situation here. Stay out of their sight as they move around the room and use the various tables and statues here for cover.
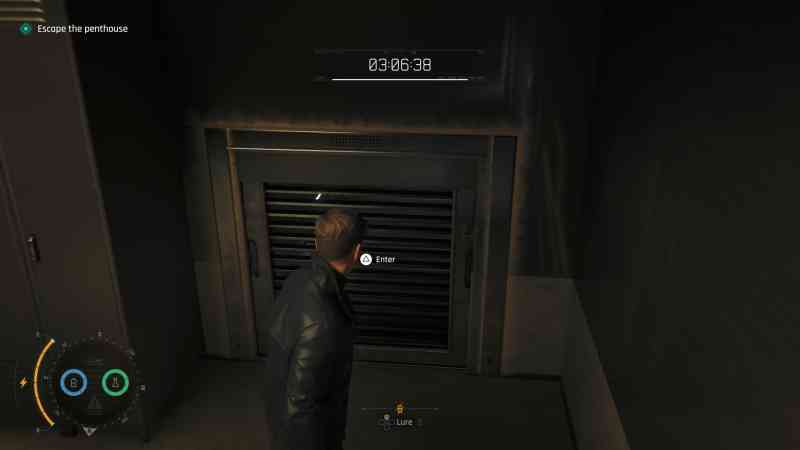
Sir Nicholas and Damien will leave the penthouse shortly, and you’ll then have four minutes to make your escape with Isola’s help.
6. Escape the Penthouse
Check the main door to the penthouse, which will be locked. Next, check Sir Webb’s desk and interact with the cat ornament. This reveals a secret exit.


In the passage, the door on your right is locked, so you’ll need to escape via the vent on your left instead.

Upon exiting the vent, you’ll be on the Executive floor of the building alongside multiple guards. You now need to access one of the elevators that leads to the Perch.
Isola will advise that you go through the door on your right and then through the vent in that room. You’ll need to use the Laser Strap on the vent to unlock it.

Through the vent, head left and kick down the boarded up door along your right. Exit the next room and take down the guard just ahead, then keep going towards the elevator and call for it.
Some guards may follow; dodge their attacks and grab them to quickly manage them and take them down. Hop in the elevator as soon as it arrives.

Pry the elevator door open when prompted then go through the vent straight ahead. After the brief cutscene (where you’re advised that the bridge is retracting), jump across and climb along the black and yellow ledges to your left.
7. Follow Greenway again
Now reunited with Greenway, follow him further into the Perch. As you go to enter, Greenway will be allowed entry but you’ll be turned away until you have a uniform.
Go back into the hallway and eavesdrop on the two members of staff (shown below).


Turns out one of these members of staff has left their lab coat in their locker and misplaced the key somewhere on this floor, which means a cleaning robot will no doubt be in possession of the key now.
If you use your Q-Lens to look at the cleaning robot in this area, you’ll see the lost locker key glowing inside of him.


Head left of the man you eavesdropped on (assuming you’re facing him), to find the cleaning robot station; interact with it to recall and empty the nearby robot.


The robot’s contents are put into a garbage disposal unit in the next room, but upon entering that room, you’ll be told to leave by staff.
I also couldn’t crouch out of view of the staff member upon entering this room, so I used the Dart Phone to temporarily distract him before entering the room and seeking cover.


As for the second staff member in this room, I snuck around and collected some more chemicals from this room so I could use the Dart Phone to make him move from his post in front of the garbage disposal unit. That said, you can also hack the vacuum in here to distract him.
Once the staff member had moved, I was able to interact with the garbage disposal unit and retrieve the lost locker key.


Once you have the key, you can exit the room, but you may need to bluff one of the staff members on your way out so he doesn’t apprehend you for being here.
The locker room is directly opposite the room you were just in, so head on over there and unlock the locker labeled ‘6’.
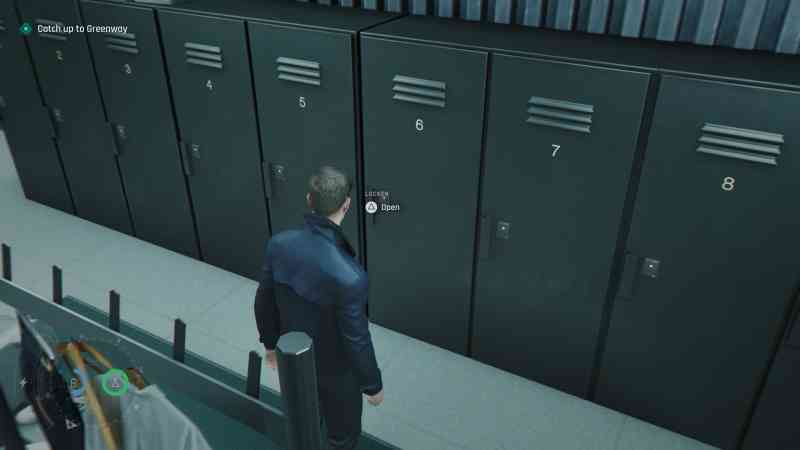

Claim the lab coat from inside of the locker then go into the room past the Check-in desk.
As you exit the locker room, the room on your right contains a Lighter you can collect provided you distract the staff members in the room. This might come in handy for distractions later.
In the following room, go past the crowd and upstairs to meet Greenway.
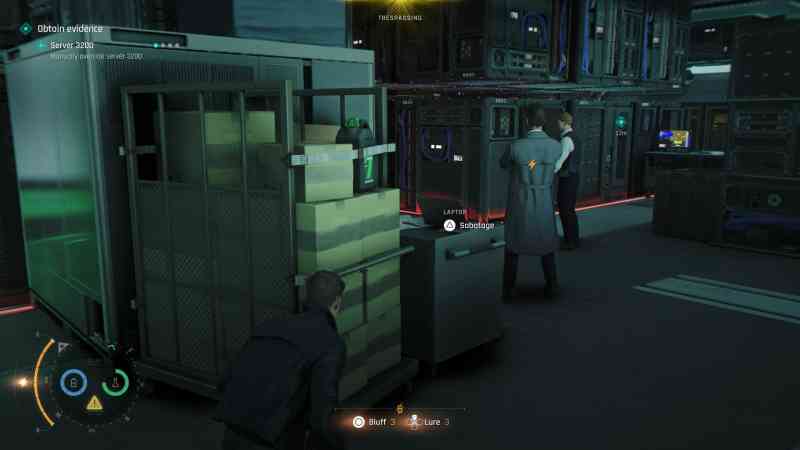
8. Obtain evidence
You’ll now need to manually turn on the servers so that you and Greenway can collect evidence before making your escape.
Go into the room just behind Greenway and interact with the control panel there to turn the servers on.


This, of course, doesn’t work. Interact with the panel again to take the servers back offline, then – as Greenway advises, look for a manual override switch. You’ll find this up the small staircase to the left of the servers.


After using the override switch, turn the servers back online again.
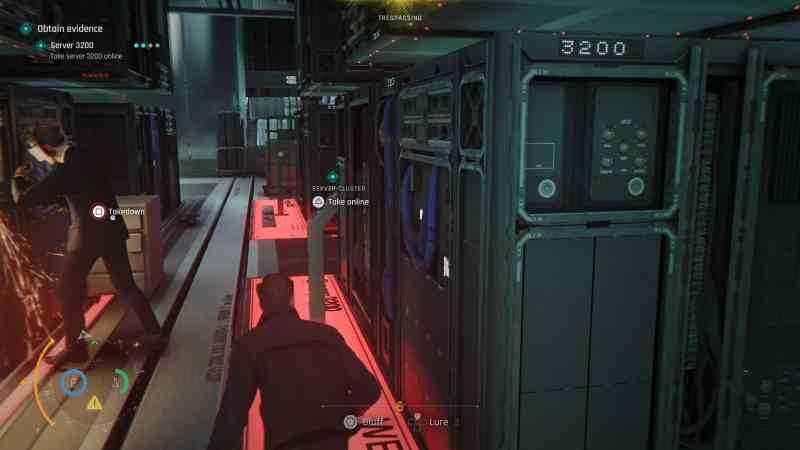
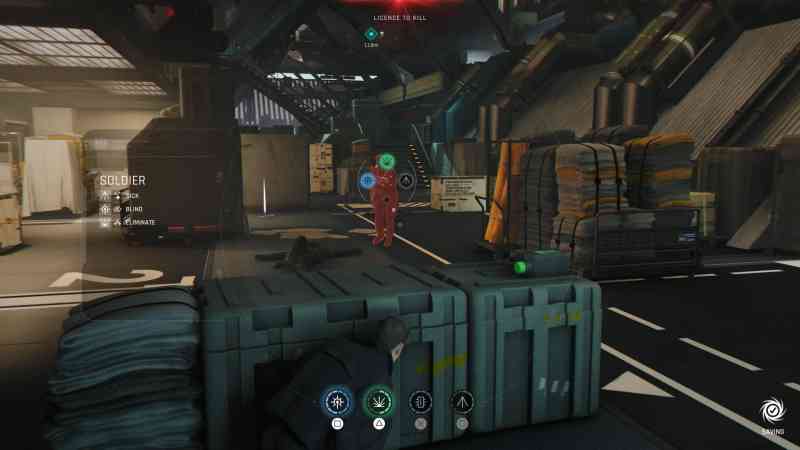
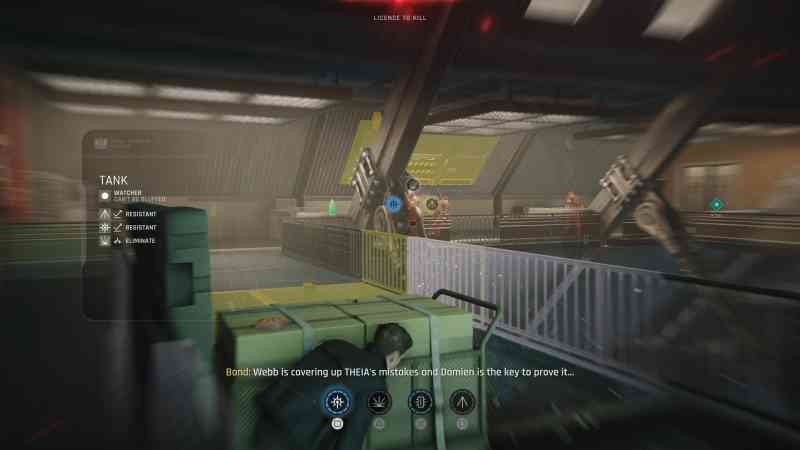
Head into the main server room next where you’ll need to repeat this process for three different server clusters: server 3200, server 2600, and server 1100. This time however, the server room is heavily guarded and you’ll need to avoid guards at all costs while doing so.
9. Override and activate Server 1100
Server 1100 is fortunately directly next to you as you enter the room, on your left. Sadly, three guards are also right beside this server, and more aren’t far away.
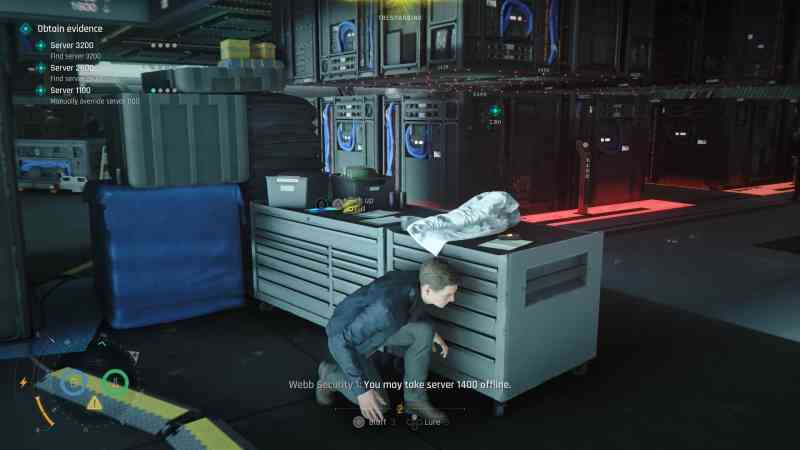

You can’t just waltz over and activate Server 1100 when the guards backs are turned, as you need to use the manual override switch for each server before turning them on. It’s also worth noting that you can use the Q-Watch on the servers to turn them offline and online in a pinch.
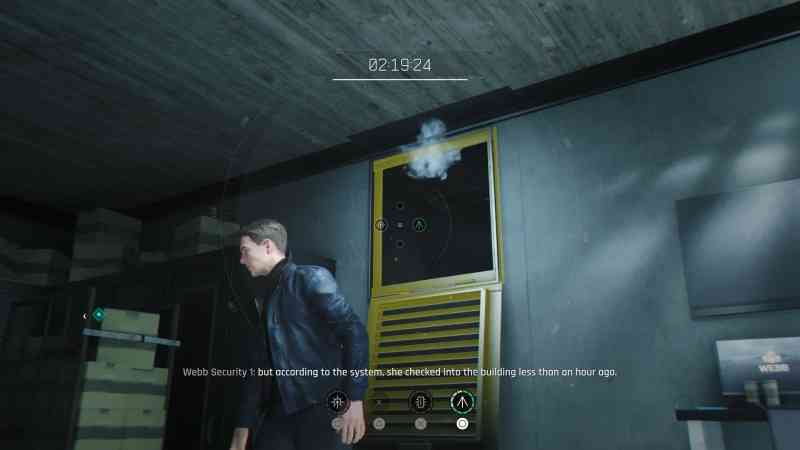
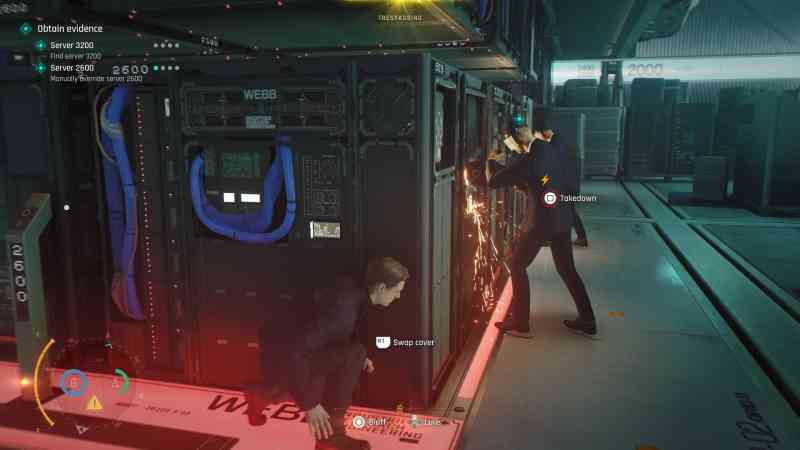
Assuming you have Server 1100 on your left, the manual override switch is found on the right-hand side of it. When the two guards here walked off, leaving just the staff member in the lab coat behind, I snuck closer to the latter and used the Dart Phone on one of the former (see the below images).
This gave me an opportunity to perform a takedown on the man in the lab coat before then quickly taking down the guard I’d used the Dart Phone on. I then retreated and hid while two more guards investigated (also shown in the below images).


I used a Lure on the first guard pictured above and performed a takedown on him, leaving me with just one guard to fight in between the server clusters. Make sure to keep the fight near the entrance of the room so as to not attract even more guards.
Now, you can flip the manual override switch on Server 1100 and put it online. Two more servers to go!
10. Override and activate Server 2600
At this point, the two guards between the 1000+ and 2000+ Servers went to investigate the trail of bodies I’d left behind, allowing me to sneak closer to Server 2600. Though, there is one man in a lab coat standing in the way.
I used the Dart Phone on this fellow and performed a takedown, which then allowed me to safely get directly in front of Server 2600 without being seen. That said, there are two more guards working on Server 2600 that both happen to be on the same side as the manual override switch.
I performed a takedown on the closest guard (pictured below) which somehow went unnoticed by the second guard.

I then took cover behind the charging station here, and from there, performed a second takedown and the second guard (shown below).


At this point, you can now pull the manual override switch for Server 2600 and put it online. Quickly hide behind the charging station again once you do so as to avoid the sight of the other remaining guards in the room. One more server to go!
11. Override and activate Server 3200
The two guards that were standing on the opposite side of Server 2600 will now be alerted to the bodies of the guards you just took down.
In my experience, the guard in the suit investigated the body of the second guard we took down, while the guard in the lab coat rather conveniently wandered to the opposite side of the charging station (pictured below).


This allowed me to perform a swift takedown on the latter (the guard on the right in the above screenshot), and then fight the second. Throw the hammer on the charging station at the second guard to make light work of the fight.
Press forward past Server 2600 to eventually reach the servers labeled 3000 and up. We need to head to Server 3200, but there will be some guards along the way (shown below).


To get safely past these three, I climbed the crates I’m standing on in the above image then made the most of my gadgets.
After using the Dart Phone on one guard and the Laser Strap on another, I jumped down to the charging station and threw a hammer at the third and final guard, allowing me to swiftly perform a takedown on him and contain the situation.
If you keep pressing towards the servers labeled 3000+ from here, you’ll run into two more guards just a few feet away (shown below).

Now, the guy in the suit here packs a real punch and the following instructions only work if you’re incredibly fast: I recommend using the Dart Phone on the guard in the suit to distract him (there’s conveniently some chemicals to grab here to help with that), takedown the guard in the lab coat, then quickly take down the poisoned guard before it wears off.
The Dart Phone’s effects wear off especially quick on this particular guard, which is why you need to be fast. Otherwise, you have to fight him and as mentioned, he’s incredibly tough. You can, of course, find other ways to bypass him, such as using the nearby laptop or charging station as a distraction and so forth.
With both guards downed, you can now access the manual override switch for Server 3200.
Once that’s done, you can sneak over to the front of the server cluster and turn it online. There’ll be a guard right beside it (pictured below), but he won’t actually notice you if you’re quiet.

That said, you might as well perform a takedown on him while you have the opportunity to so he doesn’t run the risk of disturbing us later.
While you’re here and before you leave, turn Server 3300 online (the one right beside Server 3200) so Greenway can achieve a better signal.
When you’re ready, leave the server room and return to Greenway.
12. Confront Sir Nicholas
The following section has you confronting Sir Nicholas Webb and choosing between different dialogue options to buy yourself some more time.
The dialogue options I chose (which were successful for me) were as follows:
- For England?
- THEIA is broken
- Terrible burden
Following the discussion, Sir Nicholas will leave and the data center will begin to fill with gas. Time to make your escape…
13. Escape the data center
Once you’re tasked with escaping, you’ll unlock the Missile Pen Gadget that will aid with your escape. This is a small explosive that can be used on both guards and locked vents.
You now need to follow the red lights on the floor to the exit, which is unsurprisingly locked. Fortunately, there’s a vent to the right that we can use the Missile Pen to access.
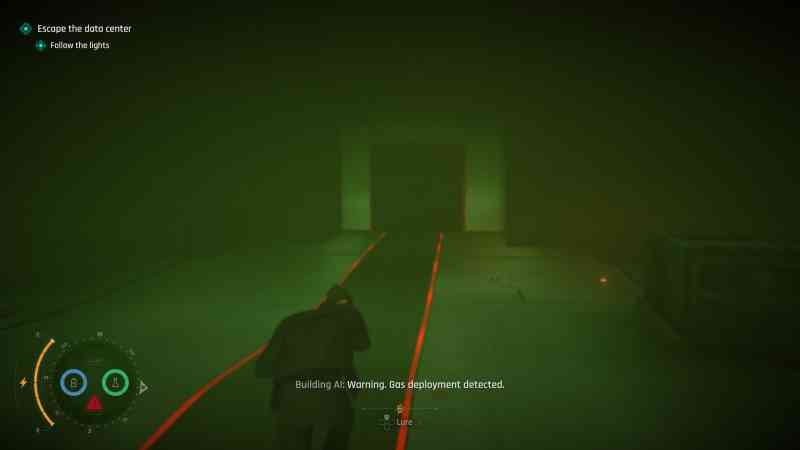

Following the vent, you’re safe from the gas. Go through the exit in the following room to arrive in a large area full of guards.
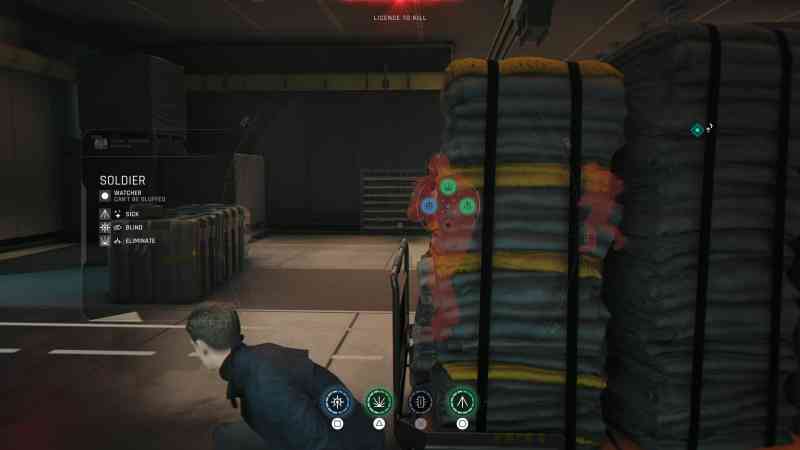
14. Reach the flight deck
In this room, you’ll now officially have a Licence to Kill, so expect to do some shooting as you make your escape. Also don’t forget that you can use the Missile Pen to help make light work of the guards here. They’re exceptionally tough to fight otherwise.
I used the missile pen on the first armored guard who approached, which swiftly took him out. This then caused a second armored guard to approach, and you can no doubt guess what I did here; I used the Missile Pen on him too.

Two more guards will approach, and if you pick up the chemicals at the front of the room, you should have just enough to use the Missile Pen on the third armored guard. As for the other guard, you can now pick up a gun from the floor and shoot him or brawl him. Your choice.

Now that the first level of this room is clear, go upstairs and prepare for more armed (and armored) guards in the offices upstairs.
At this point, you should be armed (pick up a gun from one of the guards you’ve downed so far if not!) and can shoot them safely from cover until they’ve all been cleared out. That said, you may need to push forward to collect another gun once ammo dries up, and be mindful of any grenades they throw at you.
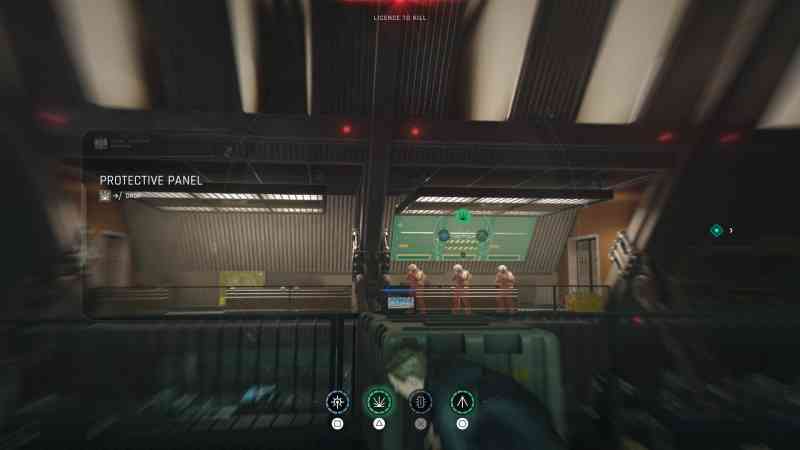
Keep pressing ahead towards the next staircase. On the third floor of the building, you’ll find yourself on a balcony, with multiple guards appearing on and shooting from the balcony opposite you.
To quickly take care of these guys, use your Q-Lens to spot the Protective Panel on their balcony. Then, use the Missile Pen on the Protective Panel. This will wipe out any guards beneath it.

Be prepared for more guards to ambush you from the right next. If you can, use your Missile Pen right away on the guards closest together then fire your gun at the rest of them until they’ve been cleared out.
While on the balcony, head into the room on your right once it’s relatively safe to do so. You’ll find more guards here to take down, as well as more chemicals for the Missile Pen.
Head downstairs in this room next, where there’s also explosive pipes you can shoot to clear out any guards on your tail.


Keep going through the office rooms while clearing out the surrounding guards. I recommend this over the balcony as there’s supplies, more cover, and plenty of environmental objects – such as the pipes – to help with your escape.
Once at the end of the offices, go upstairs again while continuing to clear out guards. There’ll be a bridge to cross here, but more guards to take care of first. Don’t forget about using the Missile Pen…
In the room directly behind the bridge, there’s loads of chemicals to collect, and you can also use the Missile Pen on guards in your line of sight from this room. If you want to clear out these guards quickly, I recommend doing so from here, as you can quickly stock up on more chemicals which’ll allow you to keep using the Missile Pen over and over again.

After clearing out the guards across the bridge, keep heading towards your objective marker. As you cross the second bridge and approach the signage for the flight deck, multiple guards will appear; quickly use the Missile Pen on them while they’re emerging to clear them all out at once.
More guards will appear on the floor below you now, and you’ve two choices for what to do next: go down the stairs here and fight them, or skip the stairs and parkour your way past them. I suggest doing the latter.
Rather than go downstairs, follow the flight deck sign to the left. You’ll approach a balcony you can hang from and just up ahead, you should see some yellow cloth showing a path ahead that you can climb to (pictured below).


Just be prepared to immediately fight two guards once you’re across, or alternatively shoot the red barrel on the opposite balcony to clear them out before crossing.
As you press forward, more guards will meet you on this platform. To quickly clear them out, you can use the ol’ trusty Missile Pen or continue shooting at them from cover if you’ve enough ammo to do so.
As you clear those out, more guards will also appear on the balcony across from you (to your left, if you’re facing your objective). There is, rather conveniently, another Protective Panel above these guards; you know the drill, use the Missile Pen on it to quickly clear them out.
Clear out any remaining guards, then interact with the elevator control panel that’s at the top of the stairs on the platform you’re on.


As you drop from this platform, two henchmen will be waiting for you. Clear them out however you please, but I recommend making use of the throwable objects in their office to help you.


15. Locate the helicopter
Once the two henchmen have been taken care of, go up to the flight deck, which is heavily guarded. Here, you’ll need to create a diversion while Greenway raises the helicopter platform, and then make your way over to the platform itself before Webb’s men try to trap you.
To cause a diversion, Greenway suggests you shoot one of the pipes directly in front of the guards ahead of you (shown below).
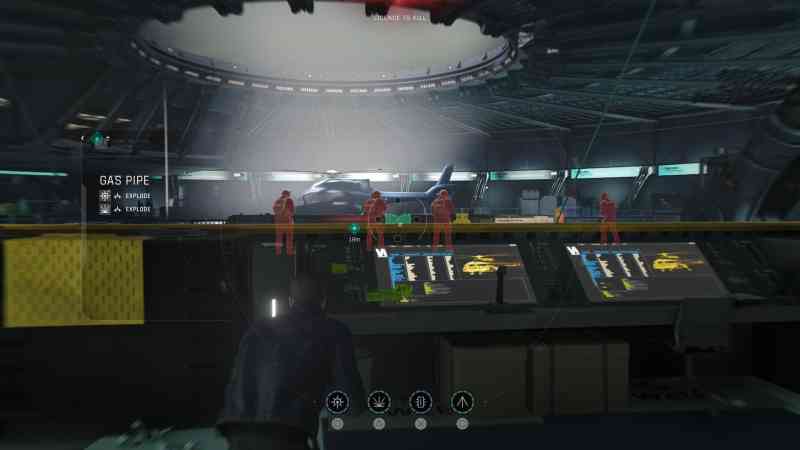

After shooting the pipes, you’ll have 90 seconds to reach the elevator platform while multiple guards fire at you. Here, you want to keep moving while continually using the Missile Pen on any clusters of guards; don’t bother shooting those who remain, just keep running as best you can.
Once you reach the helicopter, you can finally breathe for a moment. That’s Mission 7 — Knightfall wrapped up, but your journey as James Bond isn’t yet over. More of our walkthrough is coming soon!
For more on 007 First Light in the meantime, take a look at all safe and door codes in the game, as well as Eurogamer’s review.