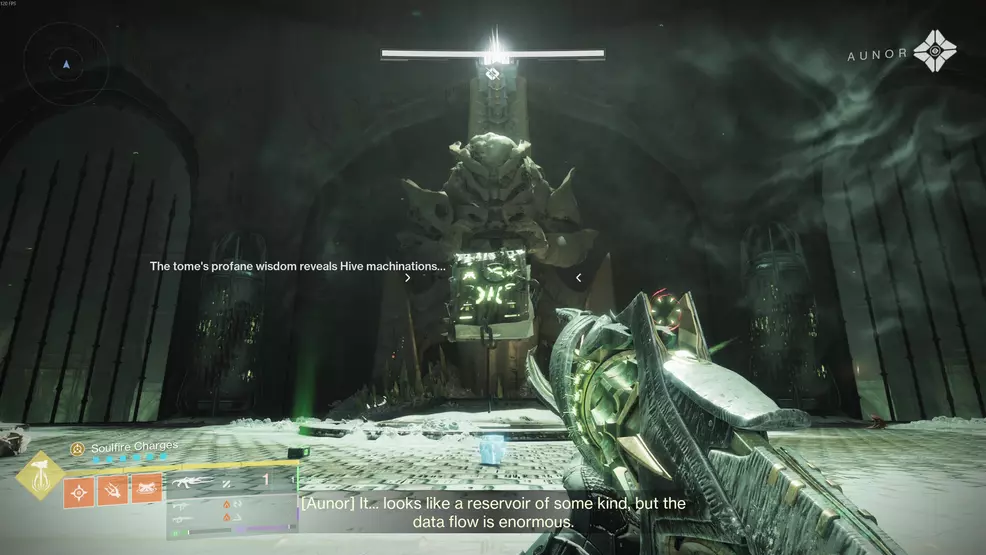
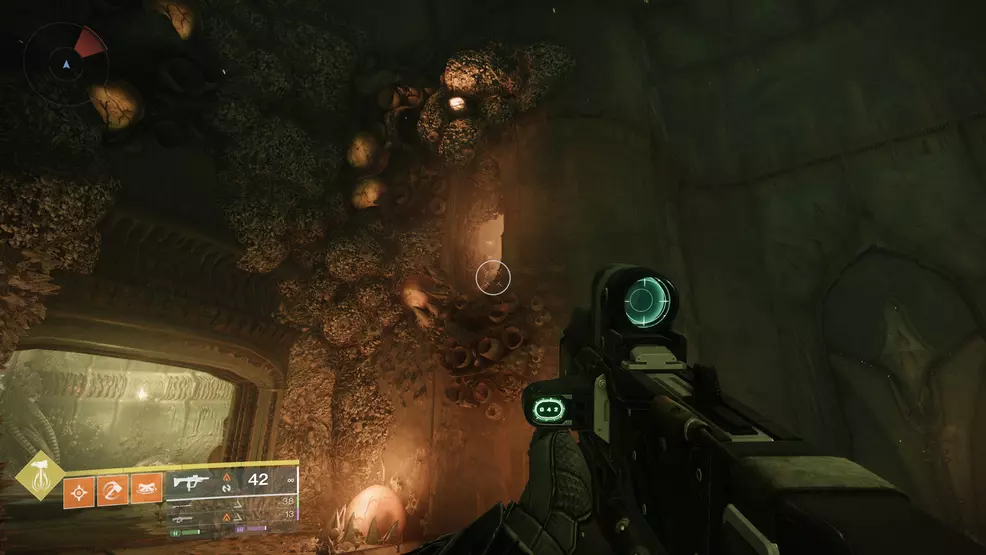
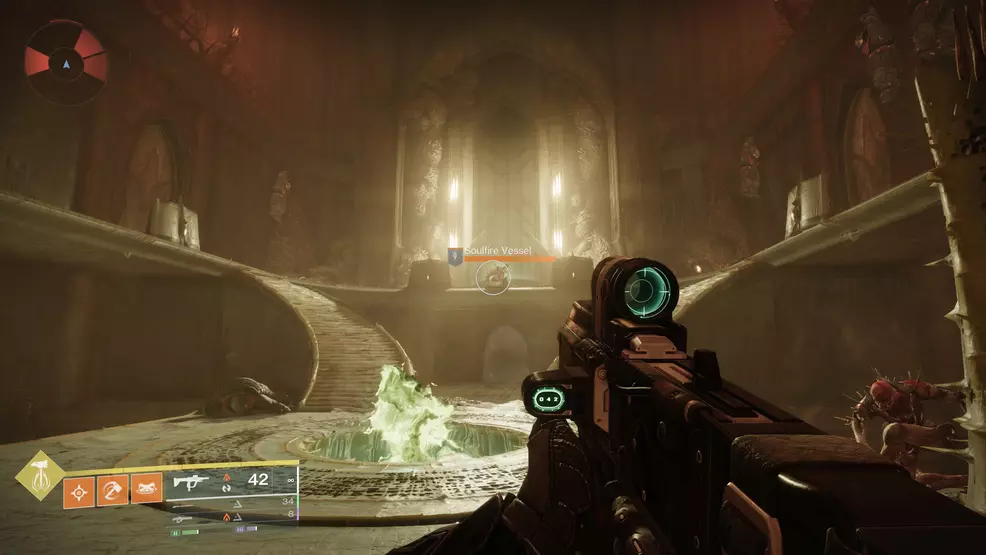
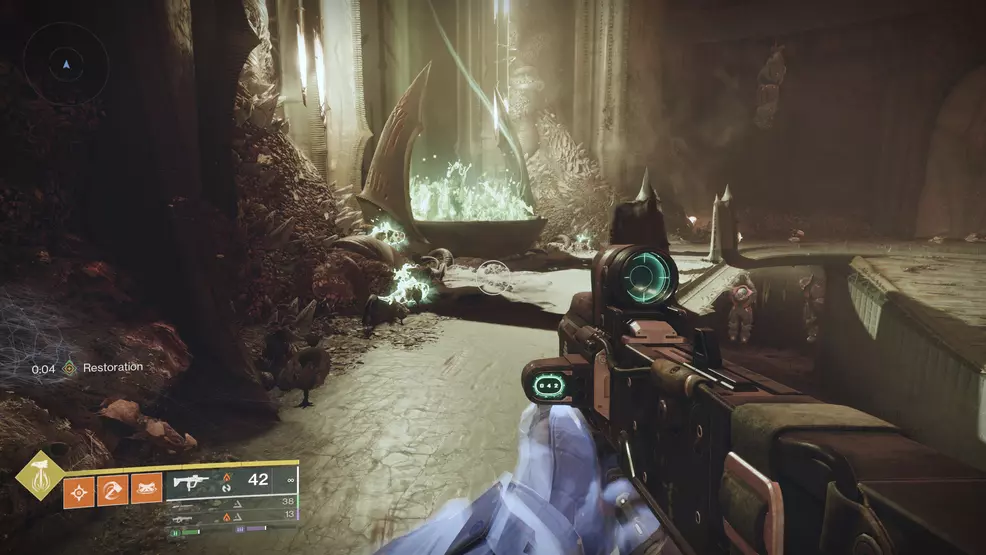
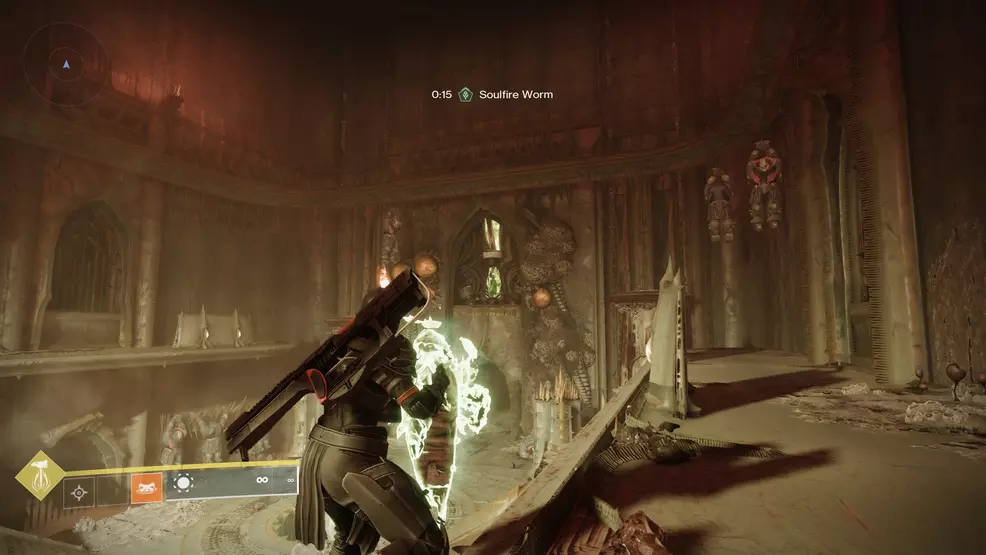
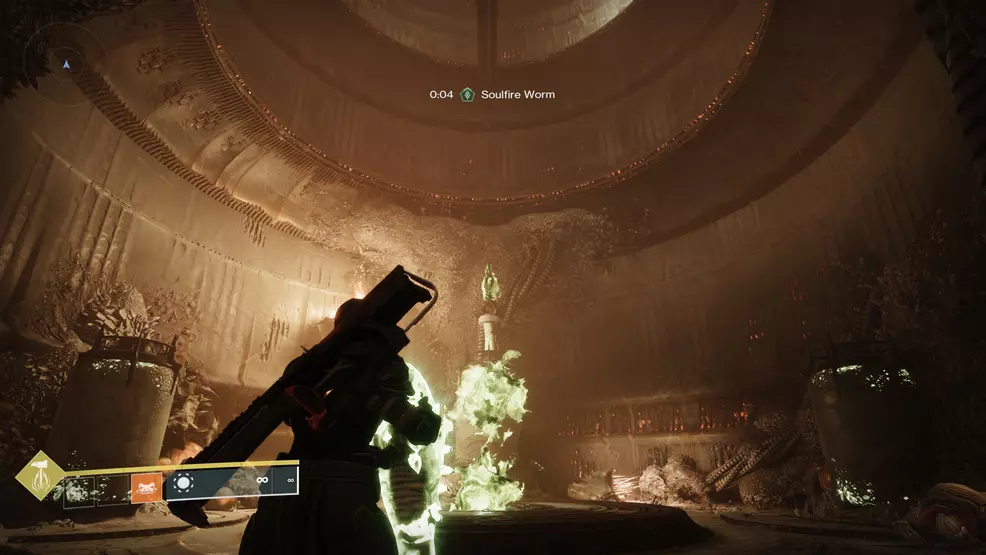
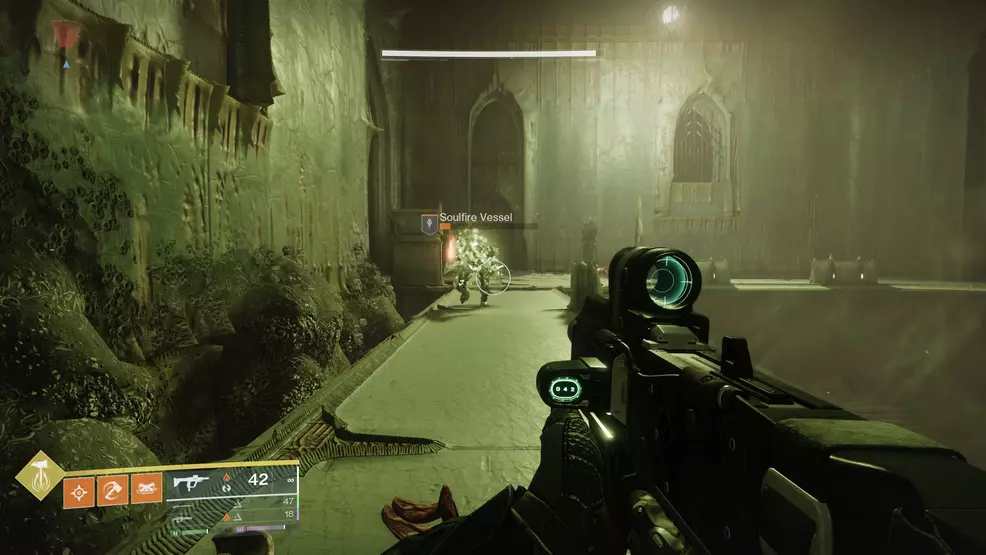
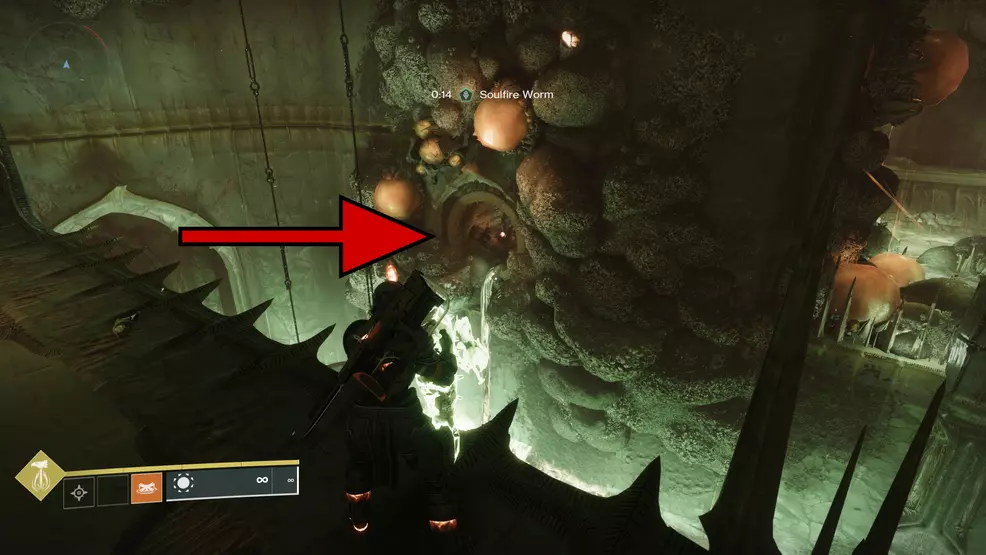
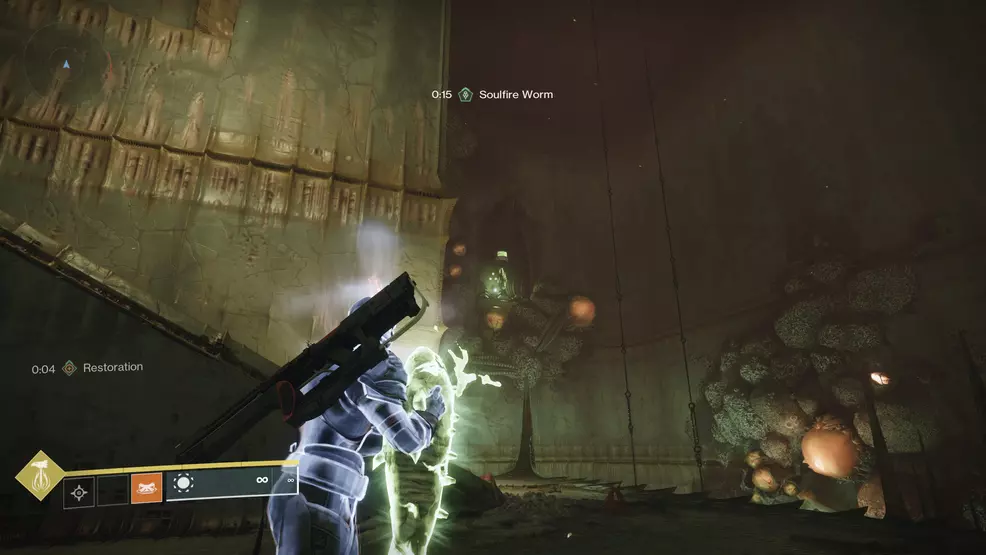
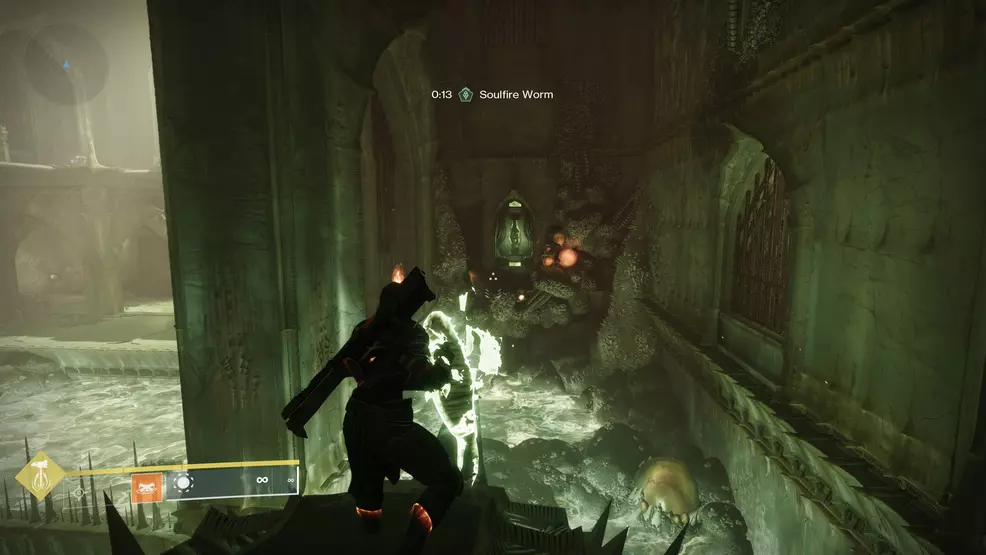
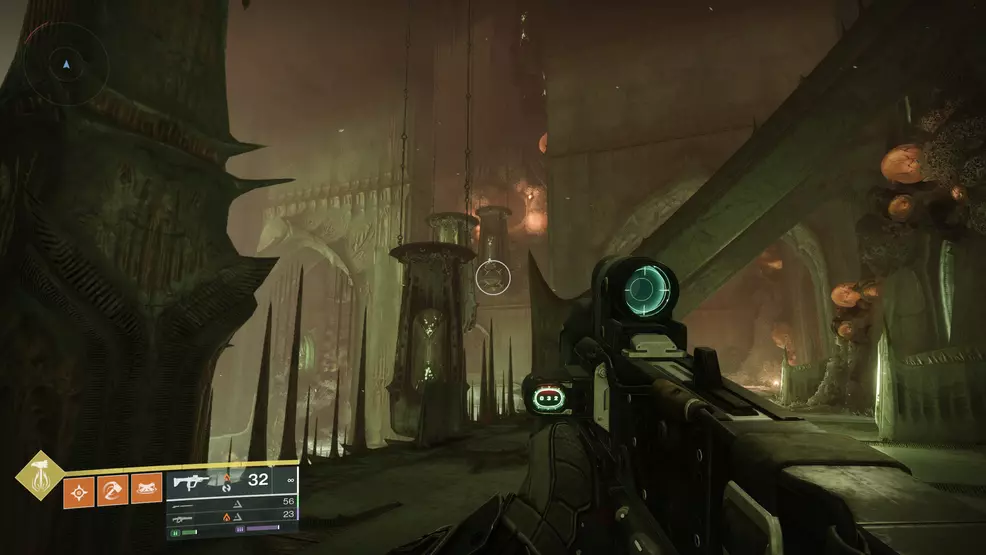
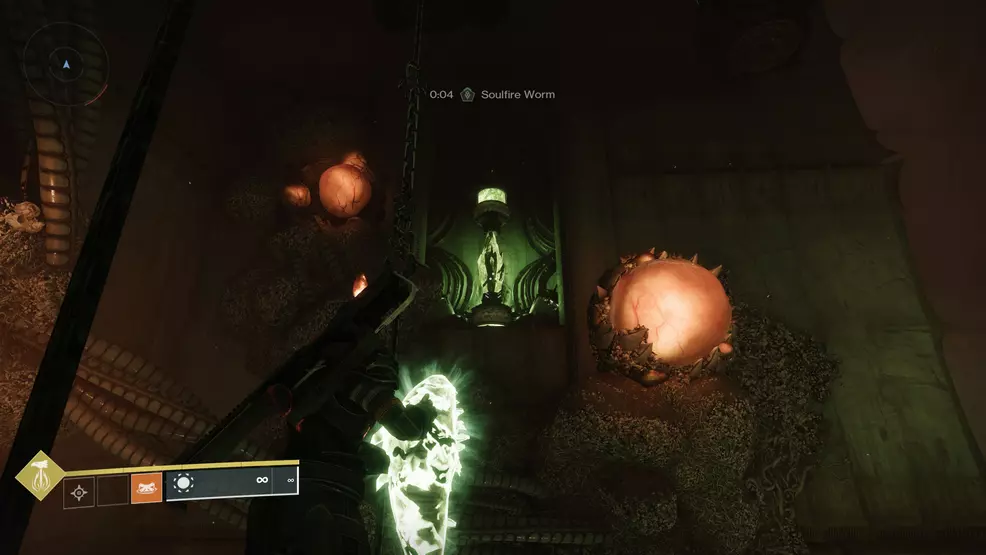
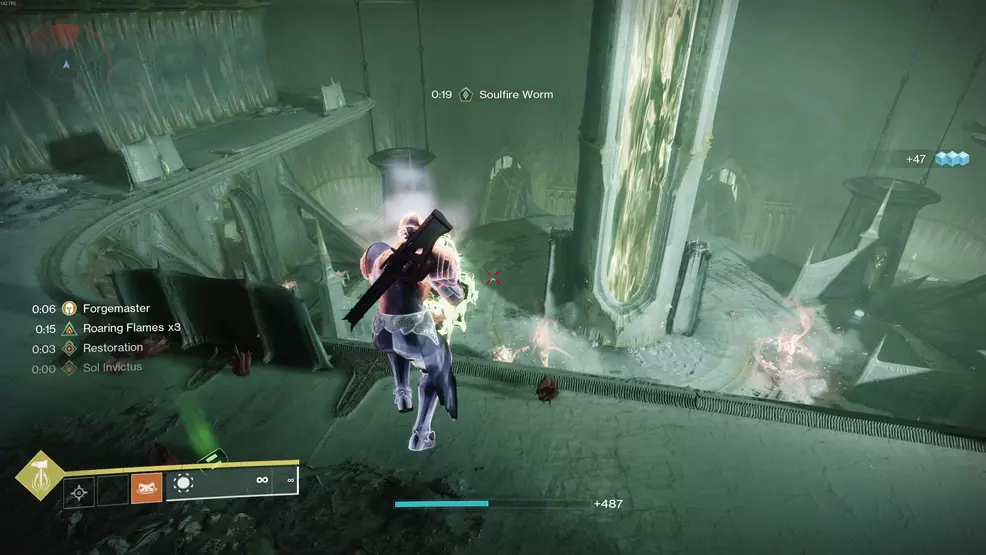
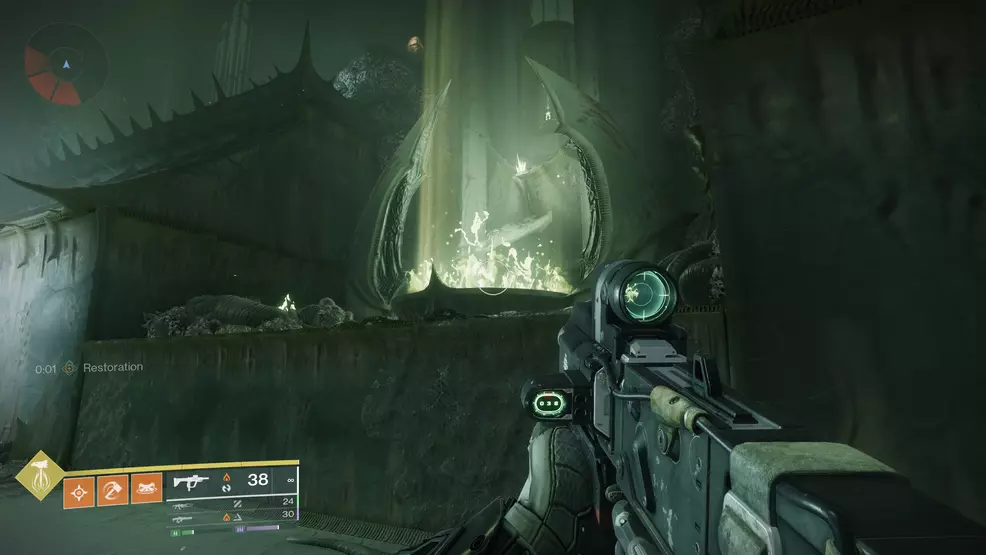
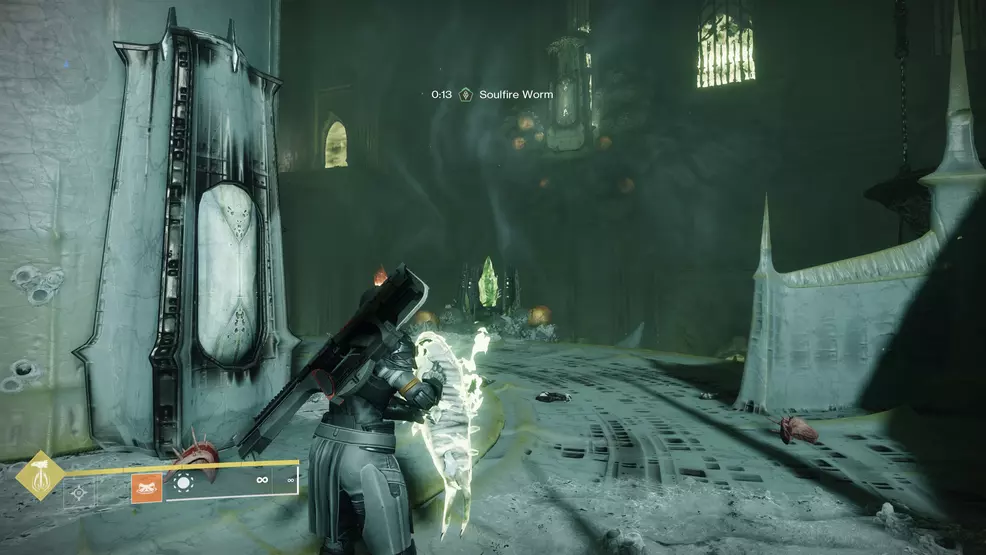
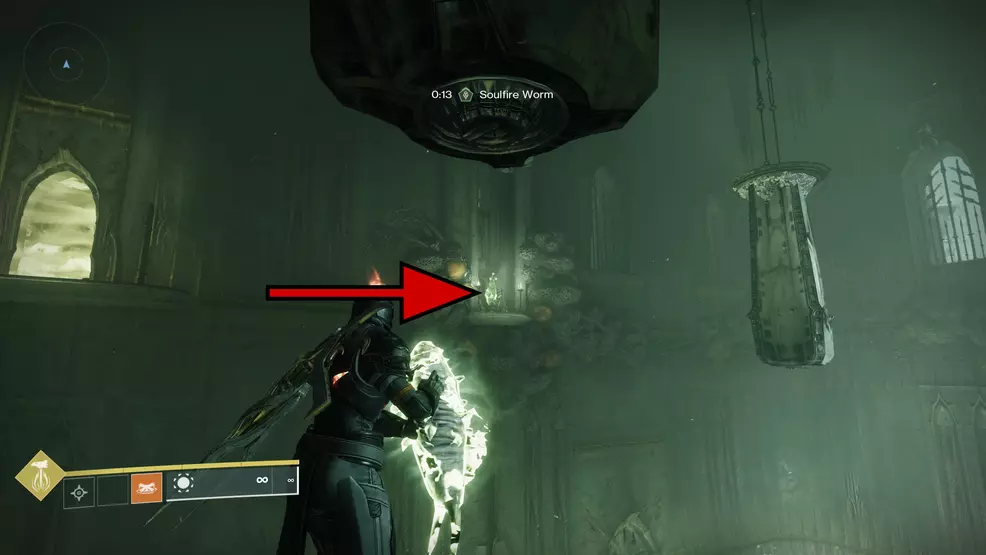
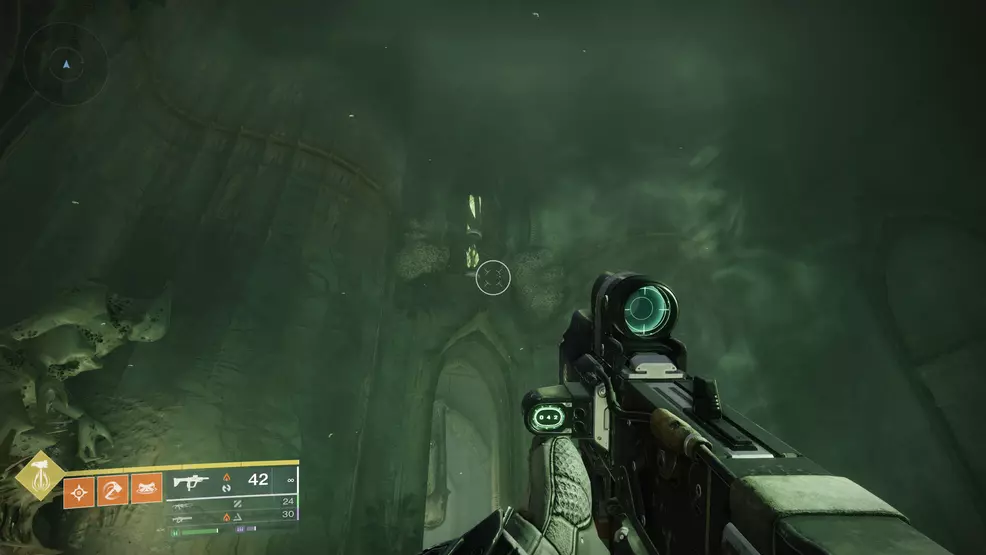
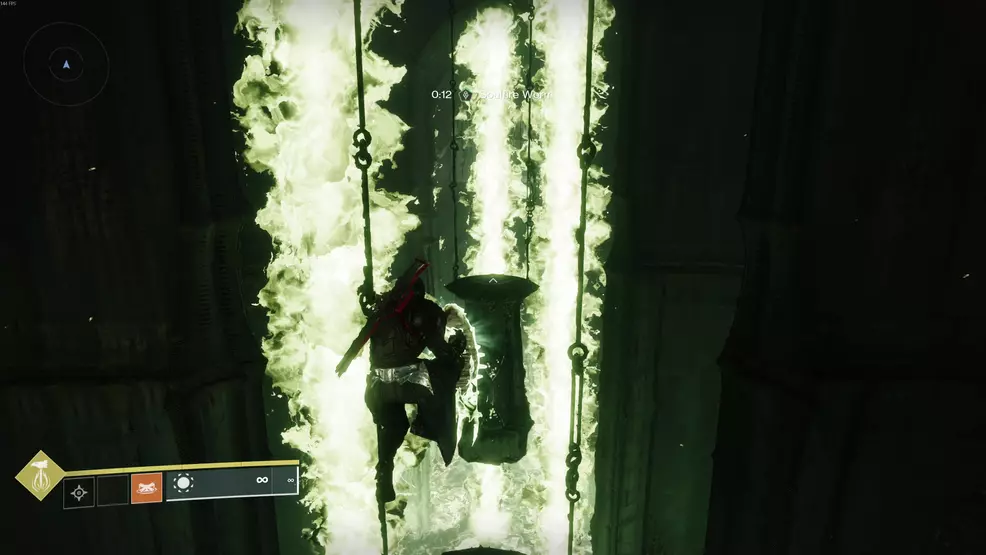
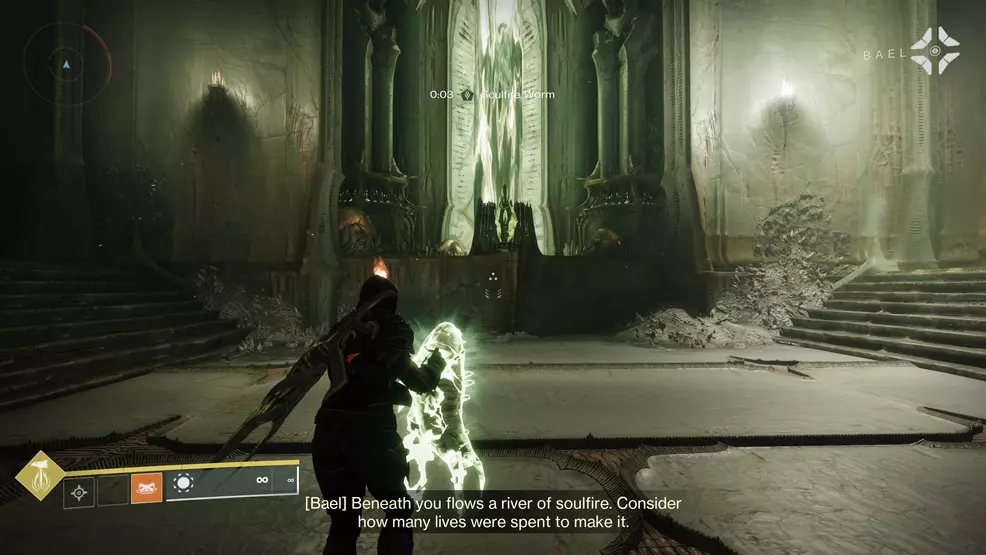
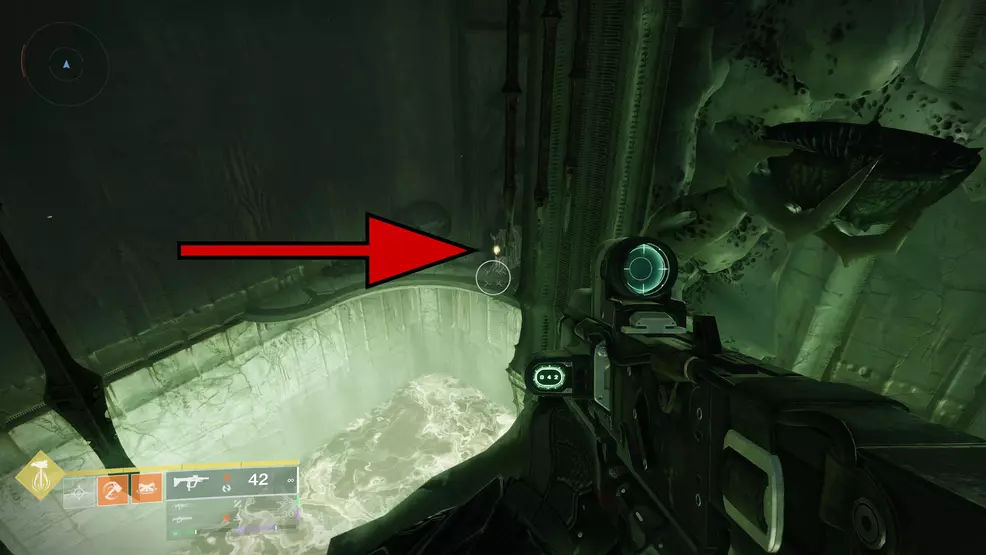
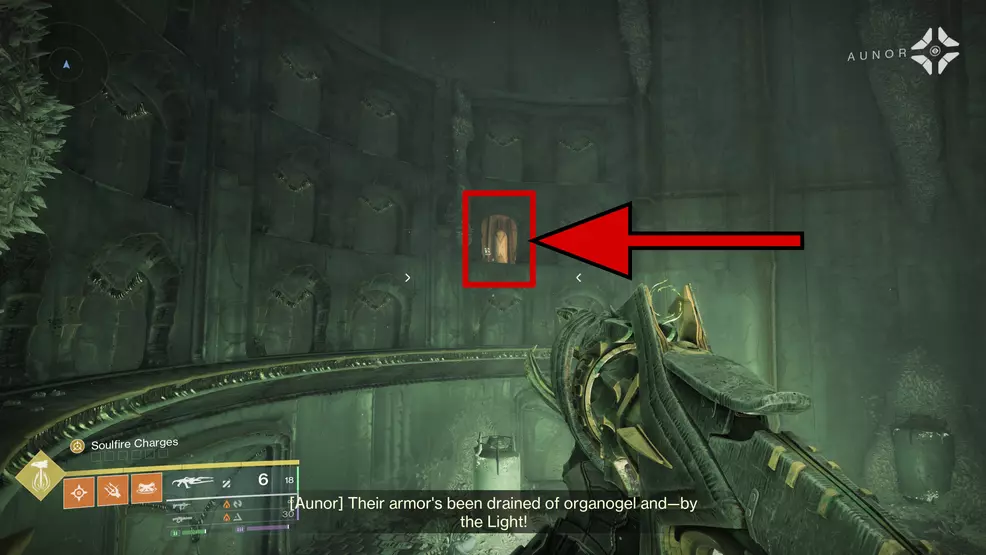
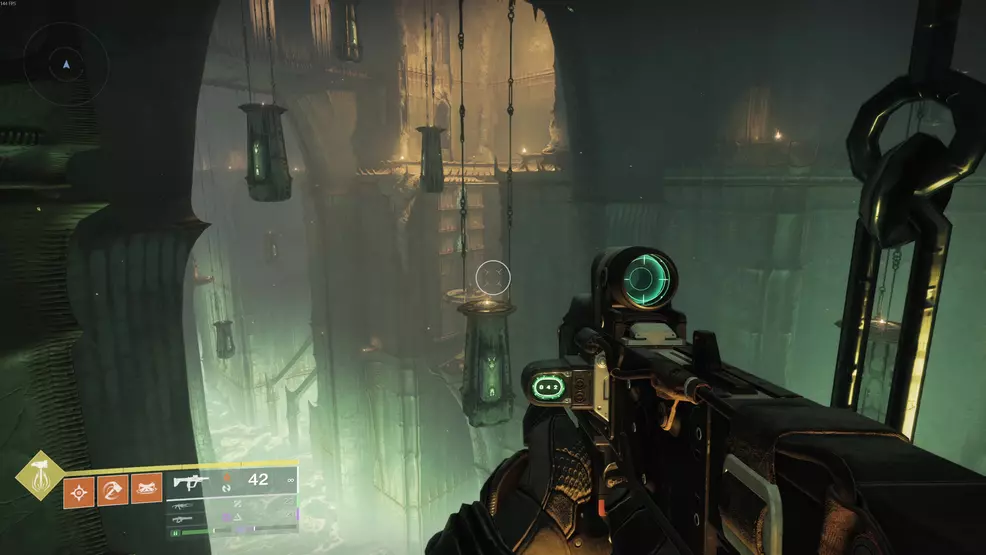
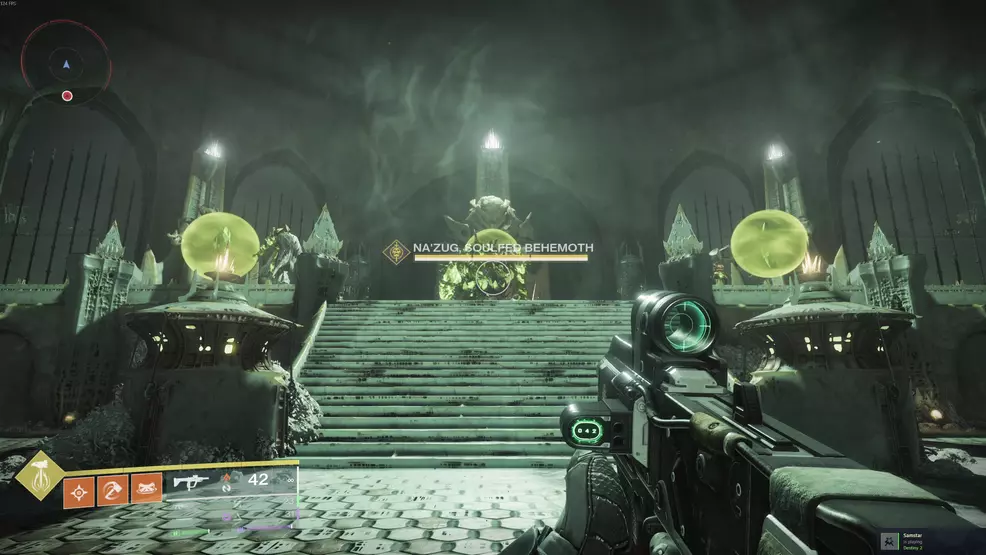
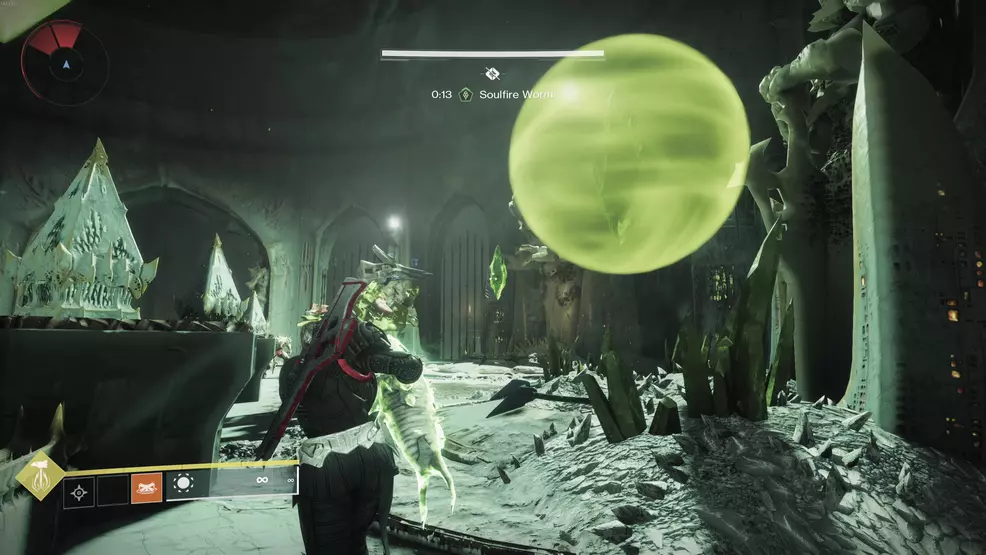
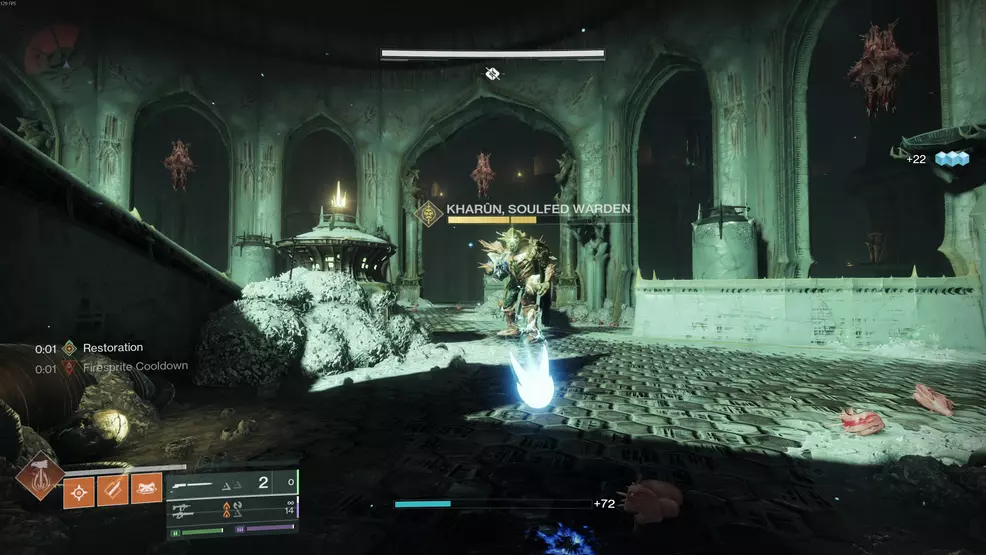
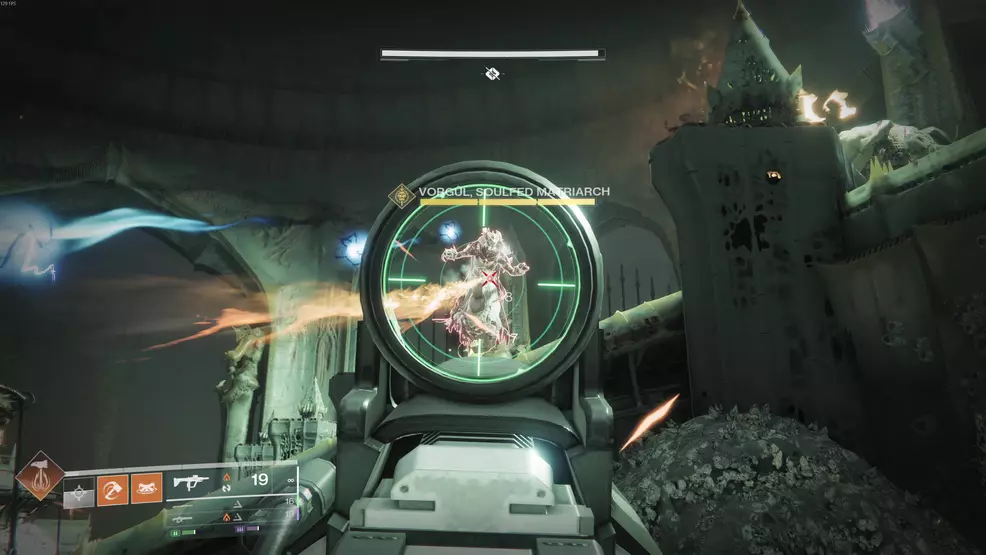
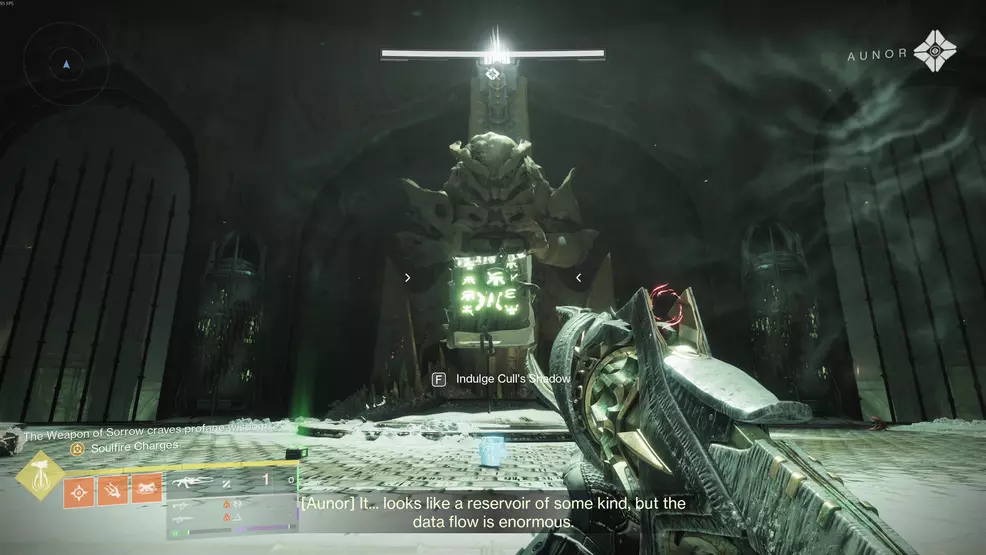
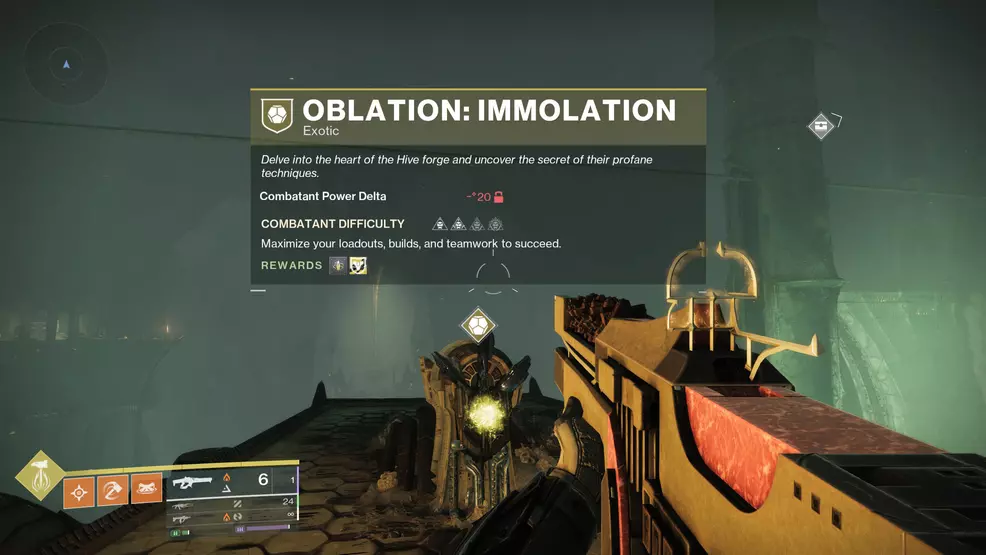
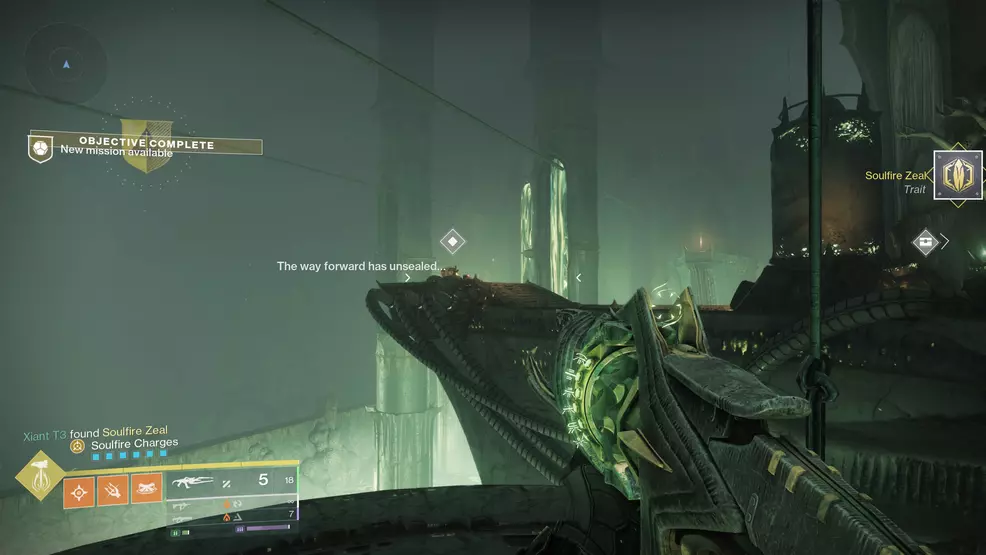
Oblation: Soulfire is the second Exotic mission in a series of them from Destiny 2’s Monument of Triumph update. Here’s how to complete it. The Oblation: Soulfed Exotic mission is the second in the series of them that came with the Destiny 2 Monument of Triumph update. It’s also much more involved than the mission that precedes it, and we’ve got all the details of how to complete it here. To even start Oblation: Soulfed, you need to have completed the first Cull’s Shadow Exotic Catalyst step during Oblation: Bloodline. Only then can you unlock passage to Soulfed. Once you’re in Soulfed, become very familiar with going down, especially falling past spiked hazards and other traps. You’ll also need to become comfortable with throwing glowing worms at green crystals and clearing gouts of soulfire to progress. Your first task when you enter Oblation: Soulfed is to drop through a hole in the middle of the floor. From there, you’ll need to fall past the same rotating spiked cylinders from the Pit of Heresy Dungeon, though oddly, these don’t instantly kill you on contact. The hole at the bottom leading deeper into the complex is blocked by a raging plume of soulfire, and you’ll need to clear it to progress. Head into the one hallway leading away from the soulfire and look to your left for a small hole in the wall that leads to a series of Hive caves. Keep right until you reach a barred doorway, then turn around and head through the passage to your right. You’ll end in another room with a Soulfire Vessel, though this time it’s a Knight rather than a Thrall. Kill it to grab the Soulfire Charge buff and then dunk the charge in the brazier as you’ve been doing. The kicker this time is the brazier will now generate soulfire-infused Hive worms that you can pick up and throw. These worms are the main mechanic of the Soulfed section of the Oblation Exotic mission series. Pick up the worm and look to the other side of the room. You’ll see a green crystal above the doorway. Throw the worm at it to activate it, then grab another one and return to the first area. Throw the worm at the crystal there as well, but beware the timer. The worm will explode in your hands if you let its timer expire completely. The soulfire will dissipate when you activate the second crystal, and you can go through the hole. You’ll need to dodge more rotating cylinders and a large jet of soulfire on your way down. When you reach the bottom, head out the one door, then turn around and look to the right of the doorway to see a small passage higher up in the wall. Follow the cave around until you drop down into the first major puzzle space. Clear out all the enemies on the main floor, then take the stairs up to the higher platform. Across the gap in the bridge is a swarm of Acolytes and a Soulfire Vessel Knight. Take out the Knight, grab the buff, then turn around and drop down onto the main floor. To the left of the bridge is a room with a worm-generating brazier. Dunk the buff to spawn some worms. You now need to throw worms at four crystals scattered around this room. You can find them: To the left above the soulfire moat, set into the wall. Look up against the far wall, left of the small cavern you just visited. To the right from the brazier, across from the spiked, rotating wheel. You’ll need to jump onto the wheel to get a good angle, then carefully jump off so you don’t end up in the green, glowing goo. Near the top of a series of sarcophagi that lead to a pipe spewing soulfire. Look up and to the right as you exit the brazier room, and jump to the highest sarcophagus, then look right for the crystal. As soon as the last crystal activates, the nearby jet of soulfire will subside, and you can proceed through the pipe back to the first area, where the plume of soulfire there will be gone. Jump down through the hole. At the bottom is yet another large puzzle space, but the process is much the same. Head onto the main platform to defeat the Soulfire Vessel Knight, then proceed up to the highest point to dunk the buff. Now, worm time. Grab a worm and throw it at the green crystal on the main platform that overlooks another moat of soulfire. Activating that crystal will raise the sarcophagus across the moat, and you can throw a worm that direction too. Doing so douses the soulfire jets, and you can head through the now open passage on the highest platform in the back of the room, left of the second crystal. Grab a worm from the already active brazier in the next room, then throw it at the crystal above the doorway to the brazier’s left. That gets the sarcophagi moving in the next chamber, but also starts up huge jets of soulfire to try and block your path. You will now need to cross that chasm with a worm in your hands, go around and through the jets, then throw said worm at a crystal on the other side of the chamber. Before you continue forward, backtrack to the beginning of the soulfire jet passage, and before you reach the initial platform, look down at a set of statues holding small basins. Drop down onto them and look to your right for a bright yellow energy button held in a crystal claw. Activate it. You’ll need access to the door it unlocks later. Turn right at the crystal and clear the enemies in the large room. You don’t need to do anything else now, save for crossing to the other side, then take a right and head down the shaft leading deeper into the facility. Now you’ll be glad you pressed that button, because one of the doors to the cells at the bottom of the shaft will be open. Head inside and interact with it to Indulge Cull’s Shadow with the Hive tome inside the cell. Once you’ve collected it, continue past the spiked wheel and into a massive platforming section. An Eager Edge Sword will do wonders here, as will the Lion Rampant Titan boots if you have them. The best advice I can give for this section is to hug the left wall. When you see a regular Knight in the distance, jump over to him and take the stairs to his left up and around to the next level of sarcophagi. Jump up into the field of sarcophagi, then down toward the yellow-lit areas. Be careful with your jumps, as it’s easy to end up in the goop below. Continue until you see what’s clearly an encounter arena in the distance. This is the final encounter of Oblation: Soulfed, and like the final boss of Bloodlines, it’s a test of everything you’ve learned thus far. You need to defeat three giant Hive bosses, but they’re immune to damage by default. To break their immunity, you need to, you guessed it, throw a worm at crystals. The crystals in question are on the upper level of the arena, and their location corresponds to the boss whose shield you need to break. The Soulfire Vessel, once again a Thrall, hangs out in the rooms below the boss crystal platform. Defeat it, claim and dunk the buff in the brazier in those same lower rooms, and throw a worm at the central crystal to drop the Ogre boss’s shield. This Ogre boss almost functions the same as any other, save for one trick up its sleeve: a purple energy sphere that pulls you toward its center and, hopefully for the Ogre, into its eye beams. You can fight the Ogre boss as you would any other, ducking behind corners to avoid the eye beams and using cover to your advantage. You’ll probably have to break its shield at least twice, as it’s a tanky sucker. Defeating the Ogre snuffs the soulfire brazier, and relighting it awakens the Knight and Wizard bosses. You’ll need to find them simultaneously, and you’ll hit different crystals to drop their shields. Right side is the Knight, left side the Wizard. Keep to the lower rooms for cover as much as possible, as things can get chaotic way too fast out in the arena. When you drop one of the bosses, Hive jail traps will appear on the arena floor, and the Wizard has a good chance of hanging out on the upper level. If she does, you’ll need to come out and potentially brave the traps. Keep plinking away at the bosses, and they’ll fall soon enough. Interact with the Hive tome that appears to Indulge Cull’s Shadow, then, when the reward chest appears, you’ll get both the Sorrow’s Coronet Ghost Shell and the Soulfire Rancor Catalyst. Don’t leave the mission yet, as you can now earn access to the third and final Exotic mission: Immolation. But there’s more puzzle-solving to do. Head behind the encounter arena to discover another golden energy switch in a closed claw. You can’t initially interact with it, but if you have Cull’s Shadow equipped, you can turn around and see a series of Hive rune discs held by the statues. The order you need to shoot them is actually shown on the outside edge of Cull’s Shadow itself. Shoot the six rune discs in the order on the weapon from the top down to not only unlock the button to the final mission but also the Soulfire Zeal Exotic Catalyst for Cull’s Shadow. Oblation: Immolation is the final mission in the series and hides another major boss fight, plenty of big lore drops, and the final Catalyst. For much more on Destiny 2, check out our dedicated game page. Sign up for our monthly roundup of exclusive content, top stories, and updates from Shacknews — once a month, no spam.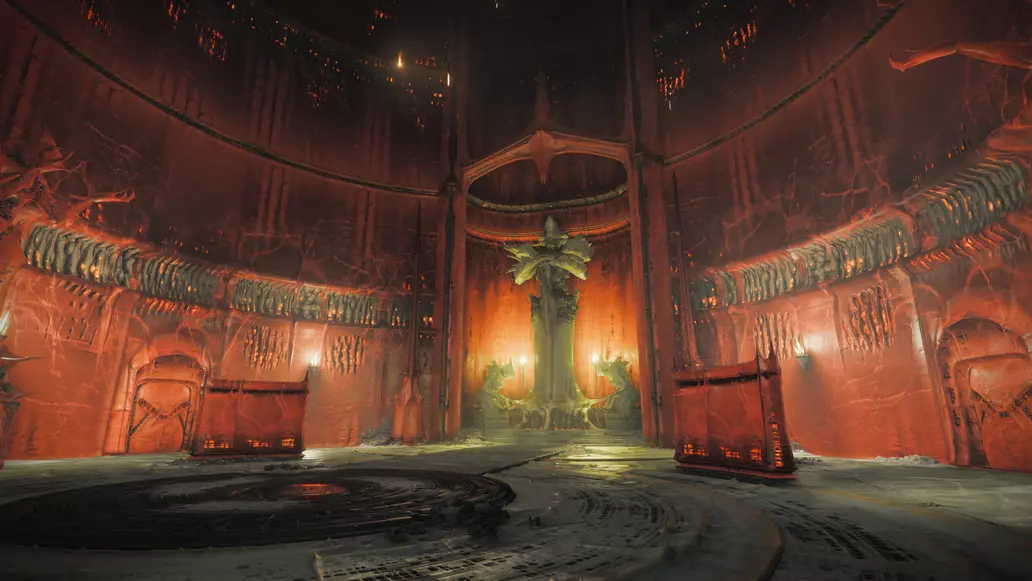
How to complete Oblation: Soulfed in Destiny 2
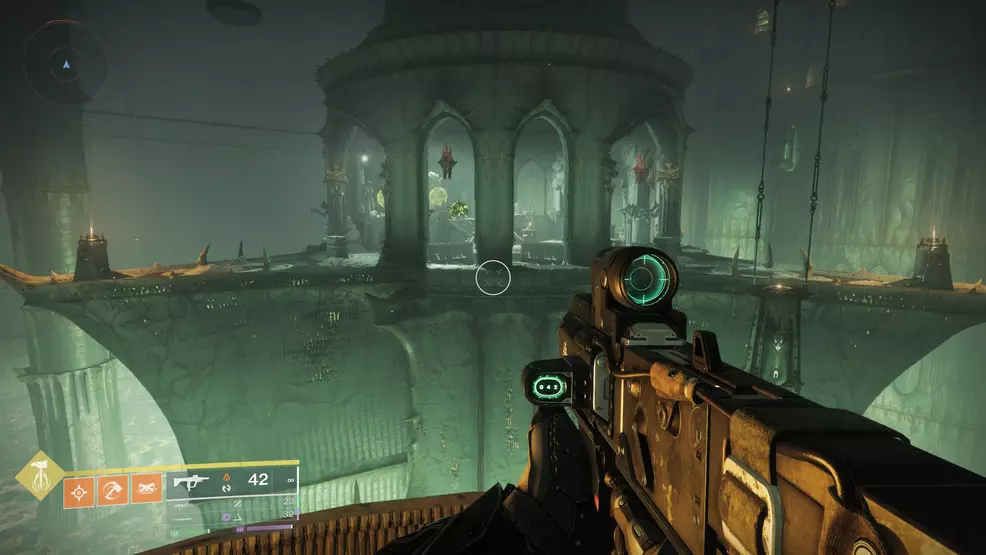
How to reach the boss arena in Oblation: Soulfed

How to beat the final encounter in Oblation: Soulfed
How to unlock Oblation: Immolation

Getting the Lionfish-4fr god roll ensures you have one of the best PvE Fusion

Get ready, Traveler. If you have been curious about HoYoverse stepping into the ring

A bloody mess. The fashion game is everything in Warframe, and you can normally

The Ouster Engine could easily become your next favorite Grenade Launcher in Destiny 2

The Yeartide Apex is easily one of the best Solar SMGs available in Destiny

You’re going to have to work for this one. The Adventures of Elliot has