Where to go first in Mina the Hollower.

Having a dungeon order in mind is a great way to approach Mina the Hollower, because, while you technically can tackle the dungeons in any order you like, some are far harder than others. This means you can risk being mouse trapped rather than becoming mouse saviour. (Especially if you haven’t invested in enough upgrades yet…) Yet this does create the question: where do you go first in Mina the Hollower? Don’t worry though, down below you’ll find my recommended dungeon order, along with some useful jobs you should get sorted first, to help the Tenebrous Isle without dying. Too much.
To see this content please enable targeting cookies.
Mina the Hollower dungeon order
Here’s my recommended dungeon order for Mina the Hollower:
| Area / Dungeon | Done? |
|---|---|
| Loner’s Landing | |
| First upgrades and Isle Map | |
| Queensbury Crypt | |
| Nox’s Bayou | |
| Septemberg | |
| Coltrane Peak | |
| Bone Beach | |
| Astral Orrery | |
| Radiant Manor |
Down below I’ll go into a little more about each specific area, along with some tips on how to reach one. I also highly recommend taking the time to do some Bone grinding every so often to ensure Mina is prepared for the harder dungeons.
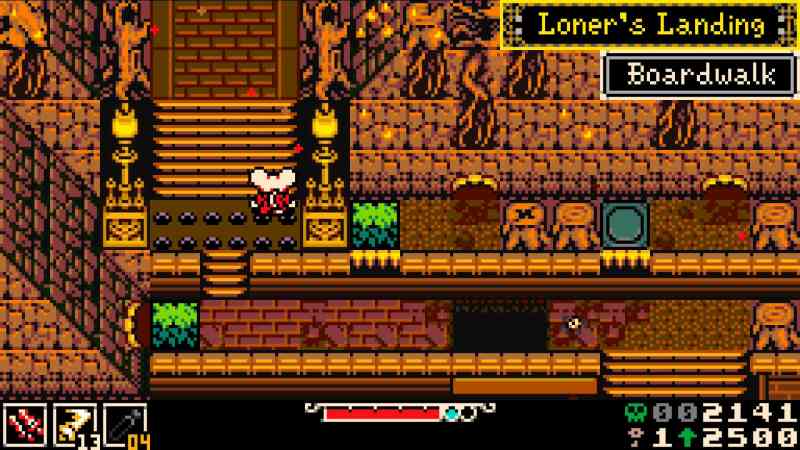
Loner’s Landing
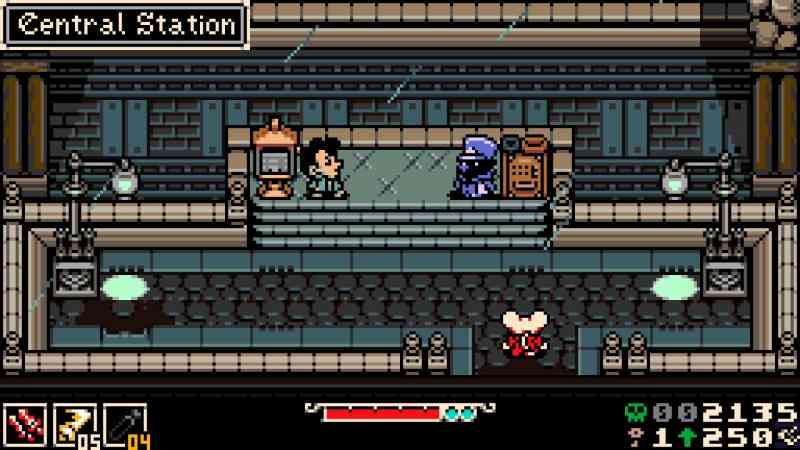
The first step in Mina the Hollower is to complete the game’s opening. This lasts from your arrival by ship at Loner’s Landing until you’ve talked to Lionel after defeating Thorne outside of the Radiant Manor. Spend this time getting to grips with the game’s combat, especially using burrowing when fighting enemies. (Trust me, it’s so useful.)
It’s also a good idea to collect as many Bones as you can, so you can nab some early upgrades to Mina’s Attack, Defense and Sidearms. I recommend taking the time to invest in all three as this will set you up well for the challenges ahead. If you do find yourself stuck at any point — especially before talking to Lionel inside the Radiant Manor — then you might want to spend some time Bone grinding. Only do this as a last resort, however, as the map will soon open up to allow you far better grinding options.
Once you’ve finished the prologue, you’ll be able to use the newspaper to get some hints about where to go next. Yet, it’s always a good idea to wonder off the beaten path to see if you can uncover any secrets. Plus, as you’ll see from my dungeon order below, going against the newspaper’s advice can sometimes work out for the best.

First upgrades and Isle Map
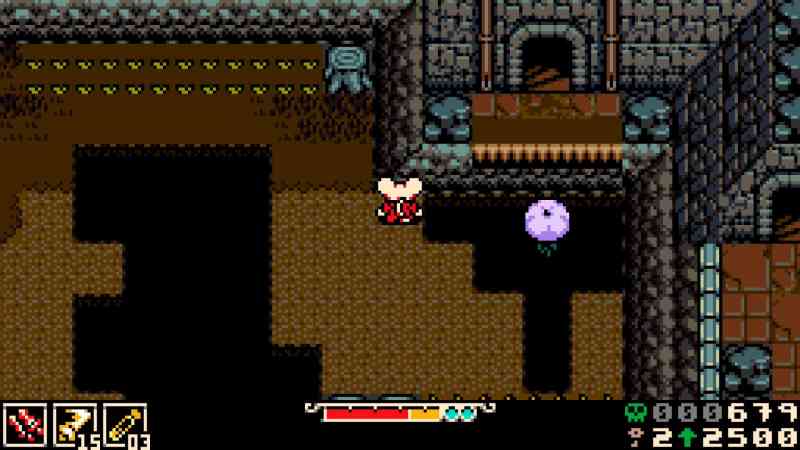
Before you properly set out on Mina’s journey, it’s a good idea to invest some time doing some Bone grinding. The areas surrounding Ossex — Southern Outskirts and Loner’s Landing to the south and Eastern Heath to the east — are good places to start. You can also do runs through Mourner’s Mile as this contains graves which, when hit with your weapon, will yield a nice stack of Bones.
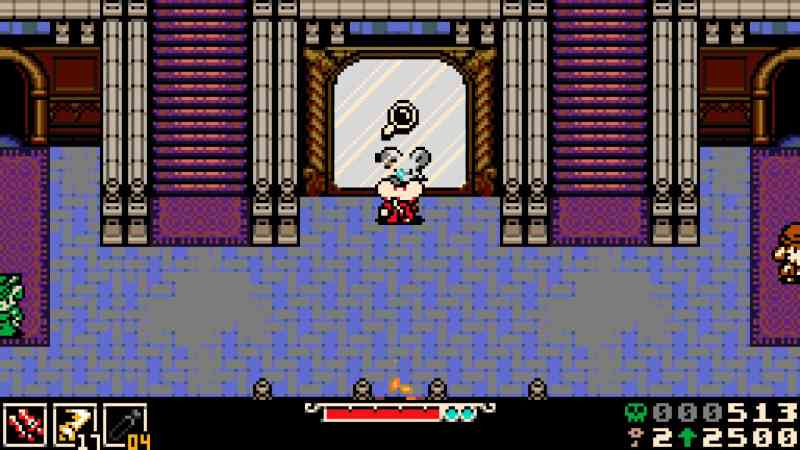
When it comes to what you should spend your Bones on, it’s time to head to the Emporium. This is located in the southern part of Ossex, just north from the entrance to Southern Outskirts: Common and directly above the Hollower’s Guild. Purchase at least one Health Rose and the Spark Upgrade as these will help you stay alive for longer. If you have enough spare Bones, you may want to purchase a Vial Pouch upgrade as well.
Upgrades aren’t the only thing you should spend your Bones on though, it’s also worth taking the time to fix up the Hollower’s Guild and buying the Isle Map. This is one of the useful upgrades you can purchase for the Underlab and there’s even the option to change its appearance. (At the cost of some Bones, of course.) Accessing this shop, however, does require completing a short side quest.


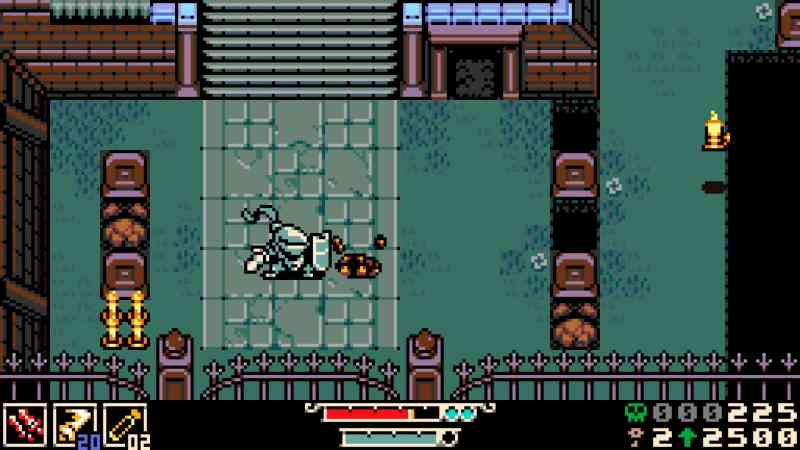
Queensbury Crypt
- How to reach: Leave Ossex by its east entrance. Travel through the Eastern Heath: Grassland and then go through Mourner’s Mile until you reach Queensbury Crypt.
Queensbury Crypt is the best dungeon to tackle first. Not only does it have a lot of Bones (you are travelling through a graveyard and crypt after all), but it’s an excellent step up in both the terms of combat and navigation from Loner’s Landing.
In terms of navigation, you’ll find yourself having to use the burrow-jump properly for the first time. This is an important mechanic to master because it essentially acts as Mina’s double jump, but, getting your timing wrong can easily send you to the bottom of a pit. As the game progresses, you’ll be using burrow-jump more and more so take the time to master it now.
The enemies found in Queensbury Crypts and its accompanying areas are also perfect for practising your combat skills on. Namely, you’ll want to use them to practise incorporating burrowing in your combat. While you’ve most likely already been burrowing around enemies to attack them, it’s here where you’ll properly start using and mastering the timing for how long you can stay underground. I recommend using the knights leading up to the crypt itself as practice since their attack patterns are quite easy to learn.
Finally, Queensbury Crypt is a great place to start learning what to pay attention to when exploring Tenebrous Isle as a whole. This includes objects you can destroy or hints in the terrain about how to reach certain areas for extra rewards. A gap in a fence in one section of map, for example, hints at a location where you can burrow beneath said fence in a different area. Spotting these locations is something you’ll have to do throughout Mina the Hollower if you want to experience everything the game has to offer.
Overall, Queensbury Crypt is the best place to truly get to grips with Mina the Hollower so go east instead of west!


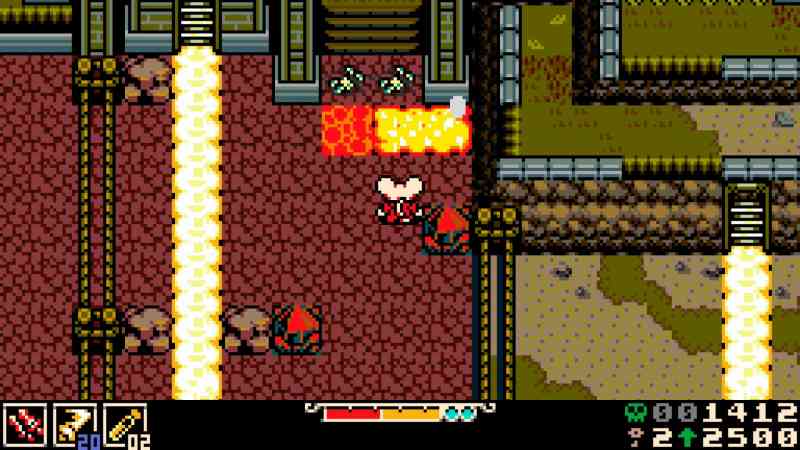
Nox’s Bayou
- How to reach: Leave Ossex by its south exit. Take the second left in Southern Outskirts: Common until you can go north into Western Wilds: Occupied Bridge. Jump over the lava when encountered, destroy the far-left red blocks with lava and head south into the Backwaters: Shanty Swamp. Continue through this area until you reach Nox’s Bayou: Boat Bog.
In terms of combat, Nox’s Bayou is on a similar level to Queensbury Crypt. (Both are meant to be one of your starting areas after all.) It’s actually navigating Nox’s Bayou where matters can get tricky, especially if you’re still finding performing burrow-jumps troublesome. After some practice, however, you should be fine. Just remember to keep an eye on the terrain and any incoming flying enemies.


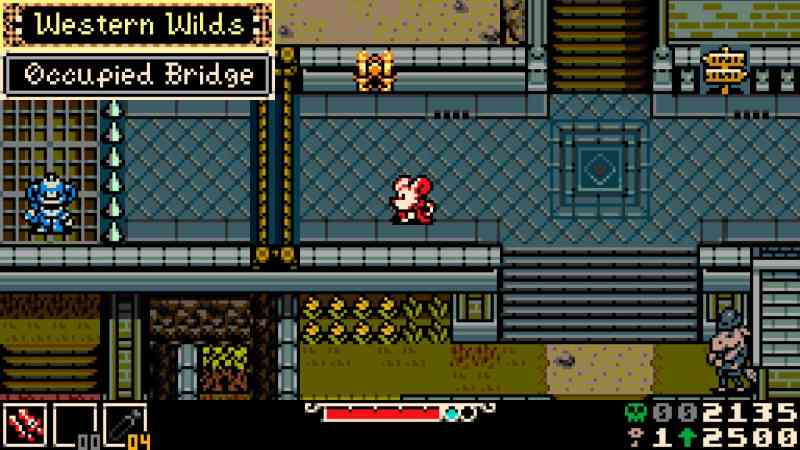
Septemberg
- How to reach: Leave Ossex by the south exit and take the second left in Southern Outskirts: Common. When possible, go north into Western Wilds: Occupied Bridge and destroy the red blocks in the section leading to Nox’s Bayou. Go up the stairs, through the Molten Foundry and continue across the bridge until you’ve reached the Kindlewood: Overgrowth. Venture through this area until you reach Kindlewood: Farming Crossing and leave by the southwest exit.
Septemberg is where the difficulty for both combat and navigation rises. If you find yourself stuck in this area, then it’s a good idea to return to Queensbury Crypt and its attached areas for some bone grinding. Ensuring your regularly upgrading Mina’s various abilities, such as Health, is vital for progressing at this point in the game and, if you fall behind, you’ll only find the challenge rising. (Though you’re also free to play around with the mods.)


Coltrane Peak
- How to reach: Fix the train by donating a total of 10,000 Bones at any of the train stations. The easiest station to find is in Ossex.
If you have the 10,000 Bones to spare then I highly recommend going to Coltrane Peak next. Yes, you could spend those Bones on new upgrades but you’re going to have to visit this mountain at some point anyways. You might also find Coltrane Peak to be a little easier than Bone Beach, which makes it a good in-between step between it and Septemberg.


Bone Beach
- How to reach: Leave Ossex by the south exit. Take the second right in the Southern Outskirts: Common and travel through the Cave Network. Exit the Cave Network by the northeast exit and continue forward until you reach another Cave Network. After this, go south to enter the Mining Passage and spend two Plasma Vials to enter. Jump across to the yellow sparkling tiles to reach the button and continue east. You’ll now be in the Sandfalls: Sifted Sands and will need to use bombs to destroy the TNT, progressing until you defeat the Major Mine boss in the Miner’s Den after spending three Plasma Vials. Finally, go south to reach Bone Beach.
Bone Beach, and its lead up area Sandfall, are very tough locations despite being close to where you first started the game. Sandfall really puts your navigation skills to the test and don’t be surprised if you find yourself stuck on a specific environmental puzzle for a little while. Alongside this, there’s some annoying flying enemies you’ll need to take care of too. The difficulty will then ramp up a second time when you reach Bone Beach itself.
It’s also a good idea to visit an Underlab whenever you get the chance. This is because you’ll need to spend a total of five Plasma Vials to reach Bone Beach: one gate costs two Plasma Vials, the second three. Since this is a difficult area, you’ll want to ensure you’ve got some spare Plasma Vials on you.


Astral Orrery
- How to reach: After hitting every mirror hidden across the map, head through the central passageway in the middle of Mirror’s End.
The Astral Orrery is designed to be the final proper dungeon of Mina the Hollower and you can tell. Not only is it by far the most difficult region to reach in the game, but it’s full of powerful enemies and is incredibly tricky to navigate. (At times, it definitely feels like the Astral Orrery is trying to make you go in the wrong direction.)
If you’ve managed to avoid Bone grinding before reaching this point, now is the time to do it. You’ll want to ensure your chosen weapon, Mina’s abilities and cloak are all upgraded. Plus, it’s worth taking the time to evaluate your choice of Trinket and Sidearm. It’s worth putting in the effort now before the Astral Orrery as it will hopefully mean that, once it’s completed, you can barrel forward into the endgame.

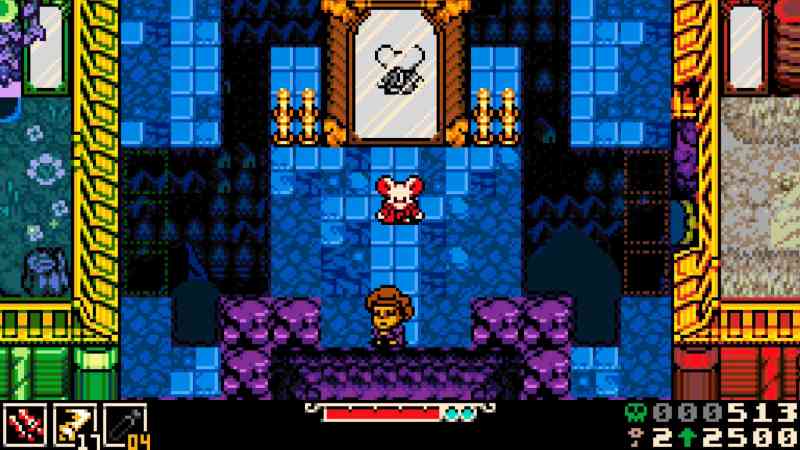

Radiant Manor
- How to reach: Go through the northern exit in Ossex.
Now that you’ve visited every dungeon, it’s time to return to the Radiant Manor and finish what you started. I won’t go into any major details to avoid spoilers, but, like I mentioned above, this is the time to ensure you’re properly prepared for the final fight. Get your favourite weapon, Trinket and Sidearm ready — the final fight is nearly here. If you do find yourself stuck, then you know what to do: upgrade, upgrade, upgrade.
Hope this dungeon order helps you navigate the Tenebrous Isle! If you’re looking for more hollowing assistance, take a look at the best weapons.